


Designing a Beautiful Sunday School Curriculum, Part 2
Even if you can't carry a tune

(This is a long post. You may need to click through from your email to read the whole thing.)
Last time, I presented a brief description of what our children’s Sunday school looks like. This post will give more of the nuts and bolts details.
Every church is in a unique context and has different gifts, resources, and communities that they are serving. This is not a recipe or a set of laws, just a description of what we do. My hope is that by seeing how one church is working this out, it will be of help in some way.
What I am describing in this post can serve children from around ages 5 to 13. The elements would look different for students outside of this age range. For example, preschool children would listen to a good storybook bible and would not be asked to tell back, older students could do more in-depth study and include journaling.
1) Decide how you will break up your time. We have one hour and it looks like this:
First 30 minutes:
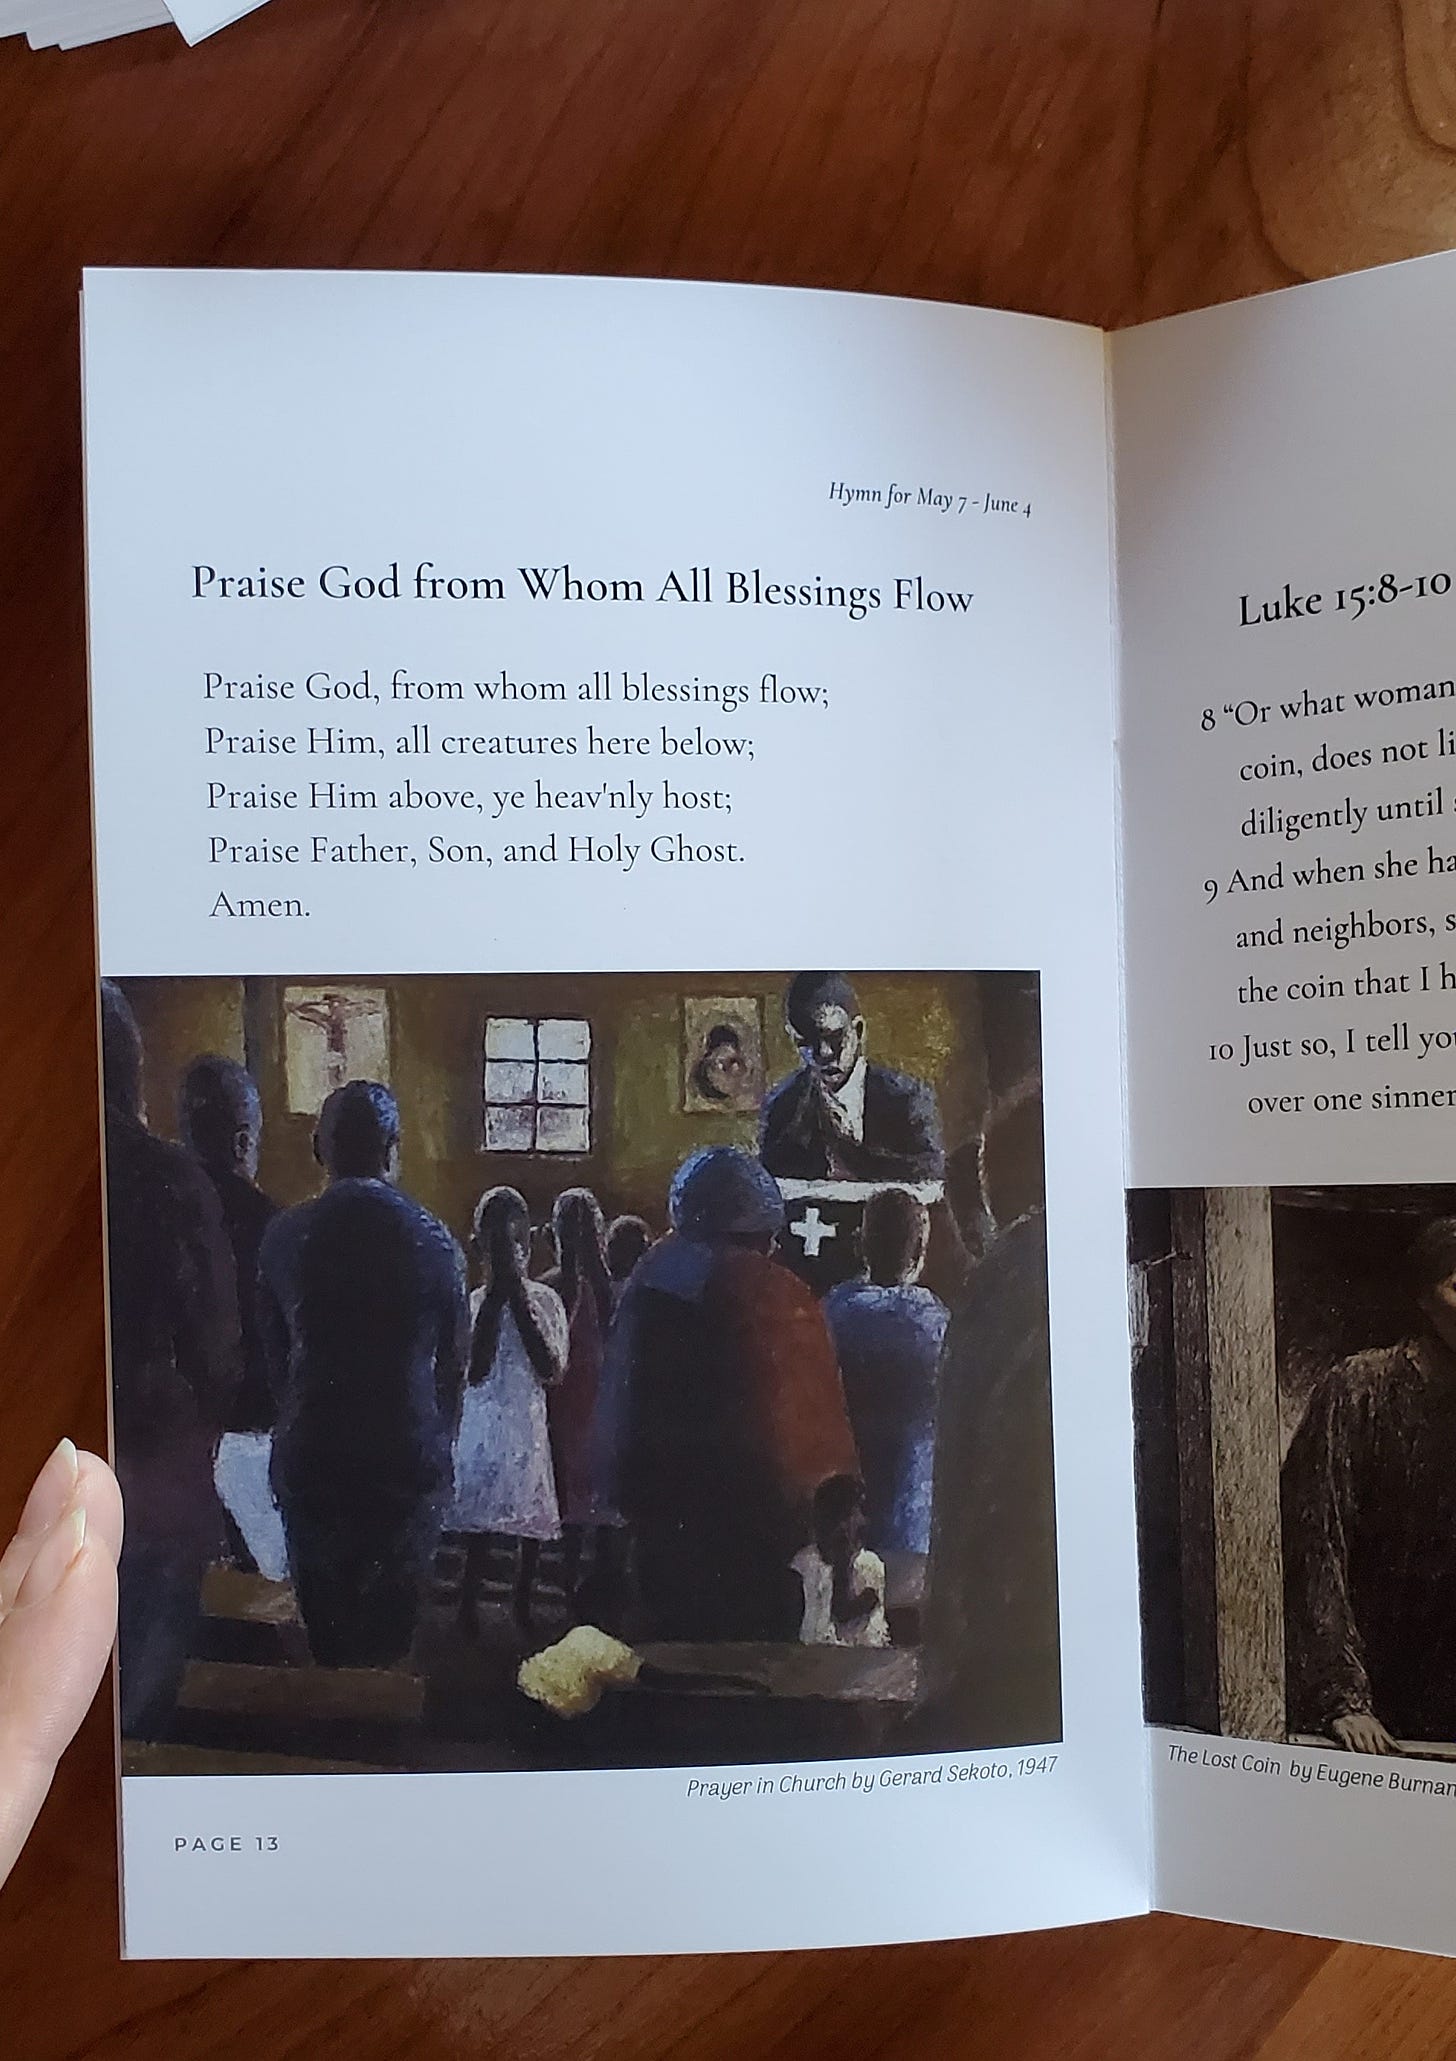
Hymn
Scripture Memory and Recitation
Theology ABCs / Catechism
Prayer
Bible Reading
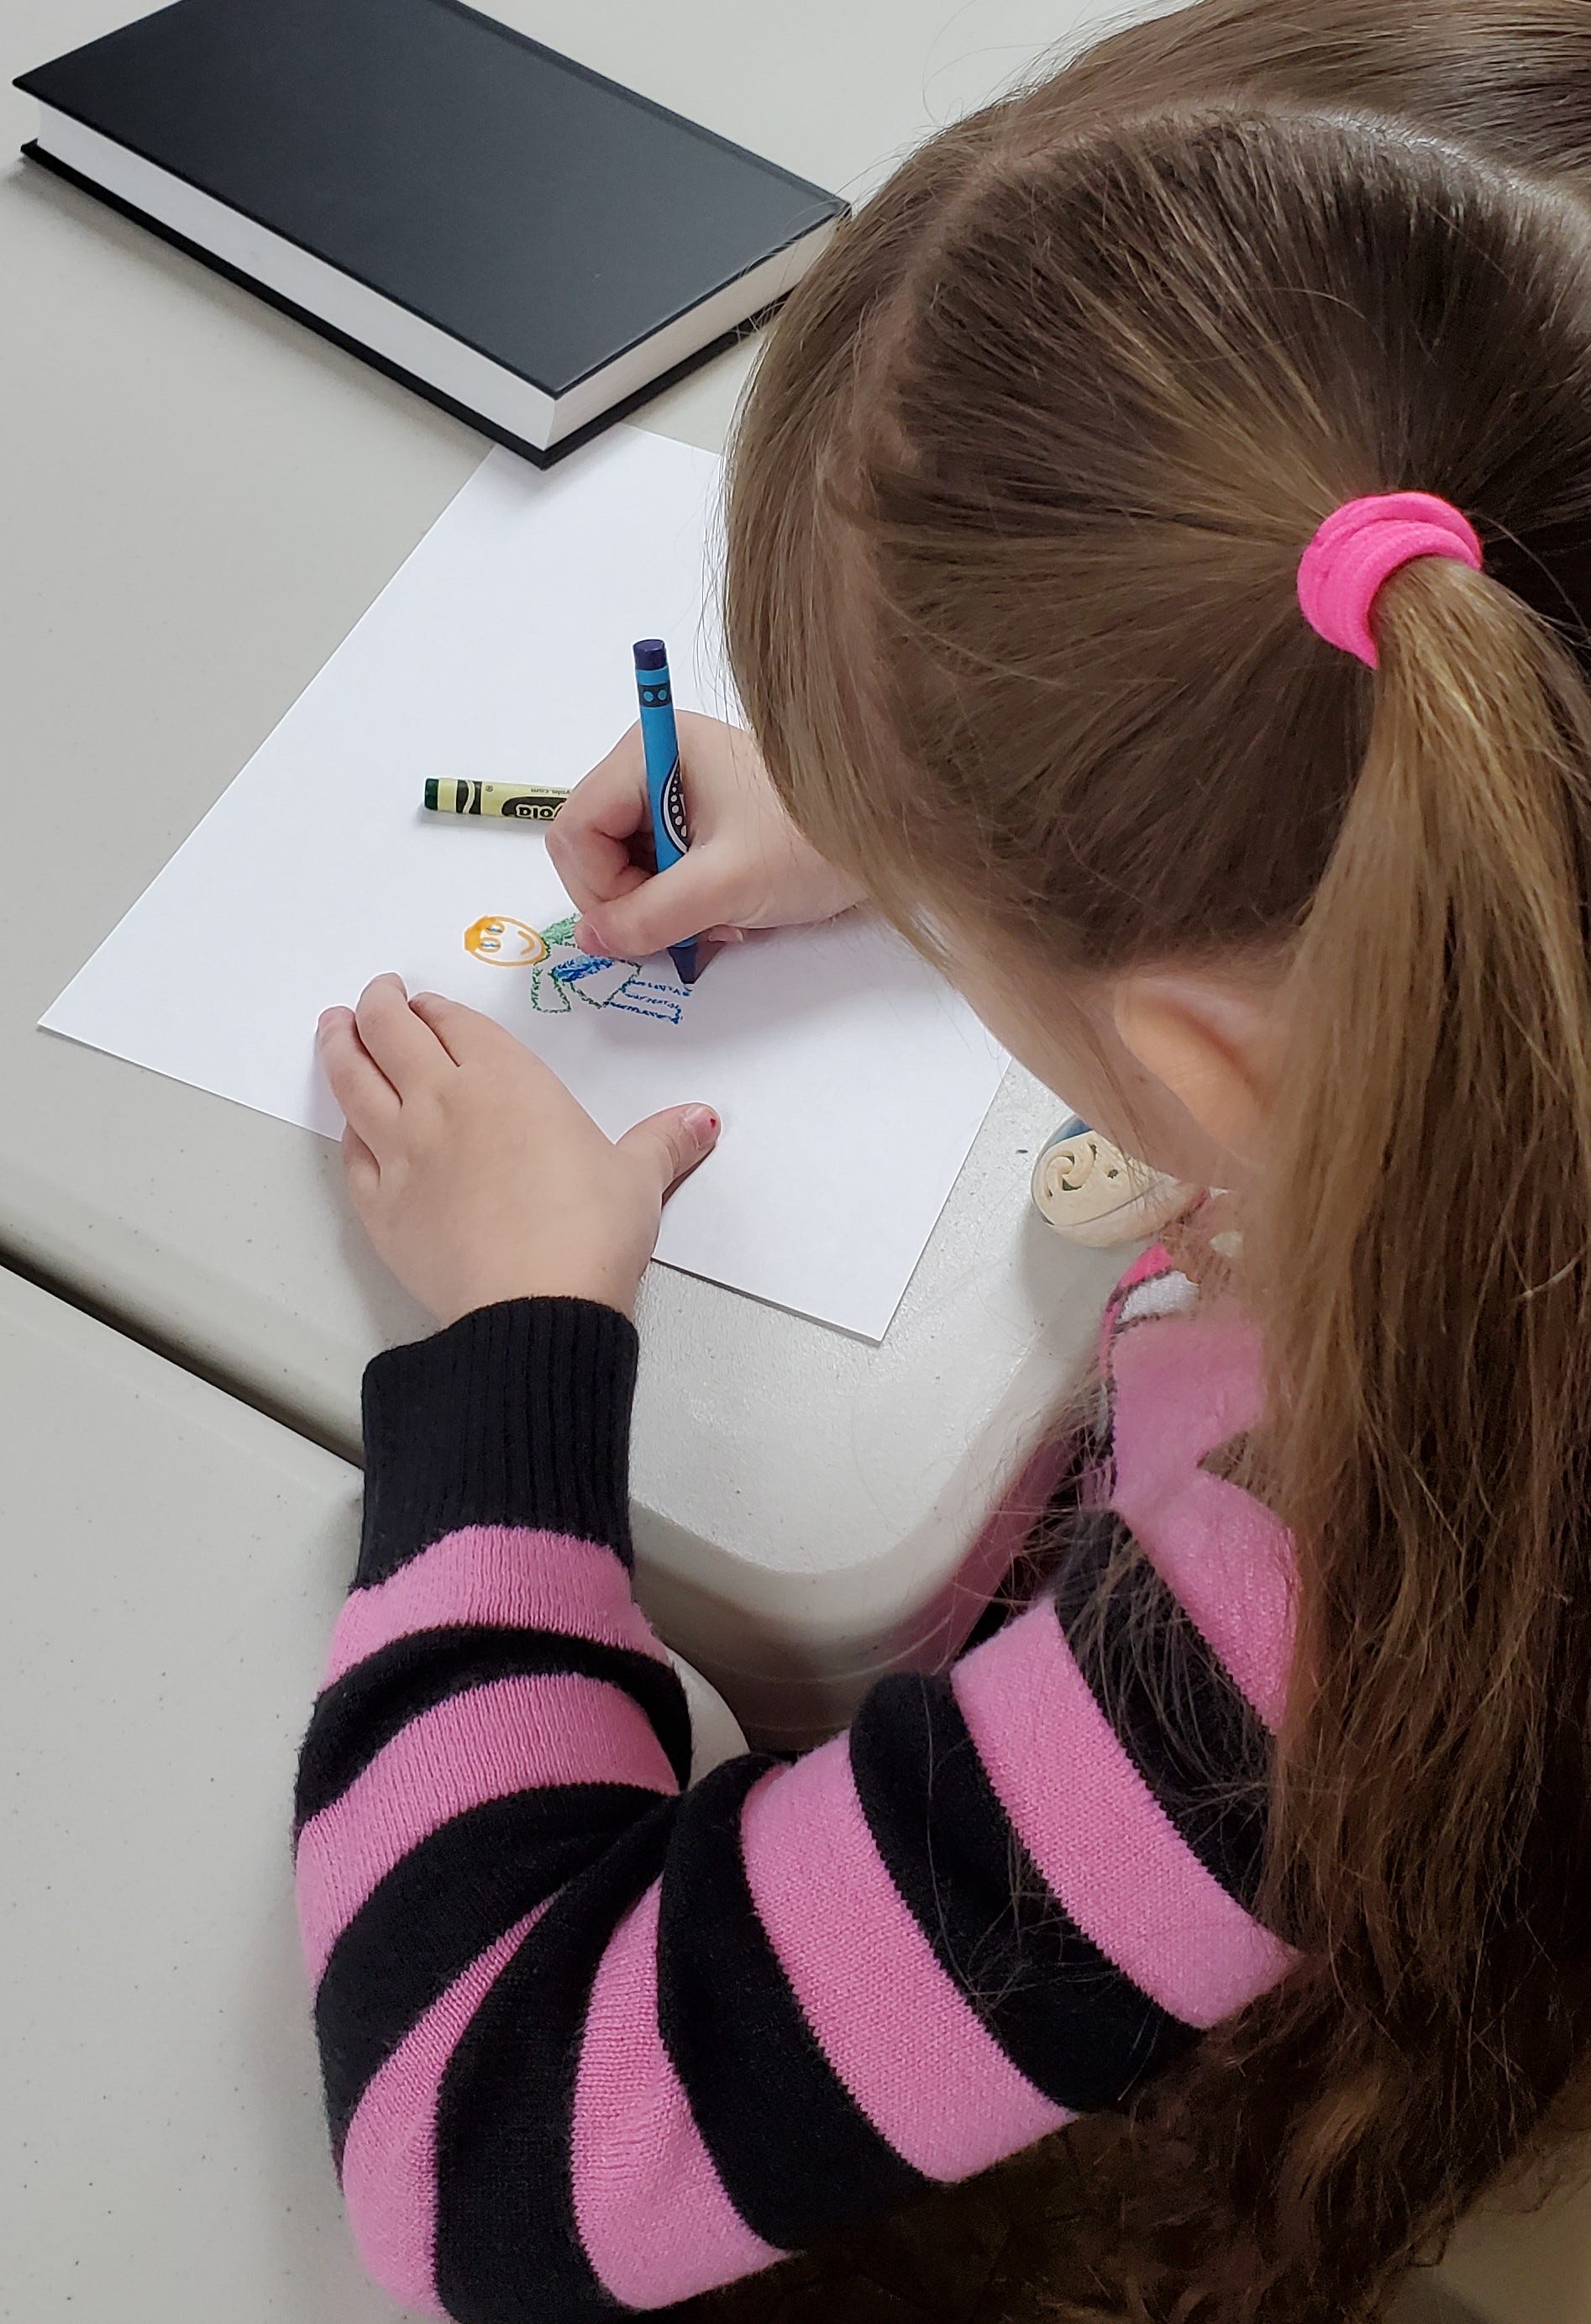
Student Response
Artist Reflection
Student Response
Last 30 minutes:
Timeline
Card Ministry or Service Craft Project
Read-Aloud: Christian Biography or literature
2) Look at the calendar. How many Sundays do you need to plan for? We break for the summer and we don’t have Sunday school class on Easter morning or on Christmas. Break those days into terms. This is helpful for planning out the weeks you want to spend on different craft projects, learning hymns, etc. I do three terms of 10 to 12 weeks and also an additional 3-4 weeks in December to use for a Christmas focus or time to practice for a nativity play.
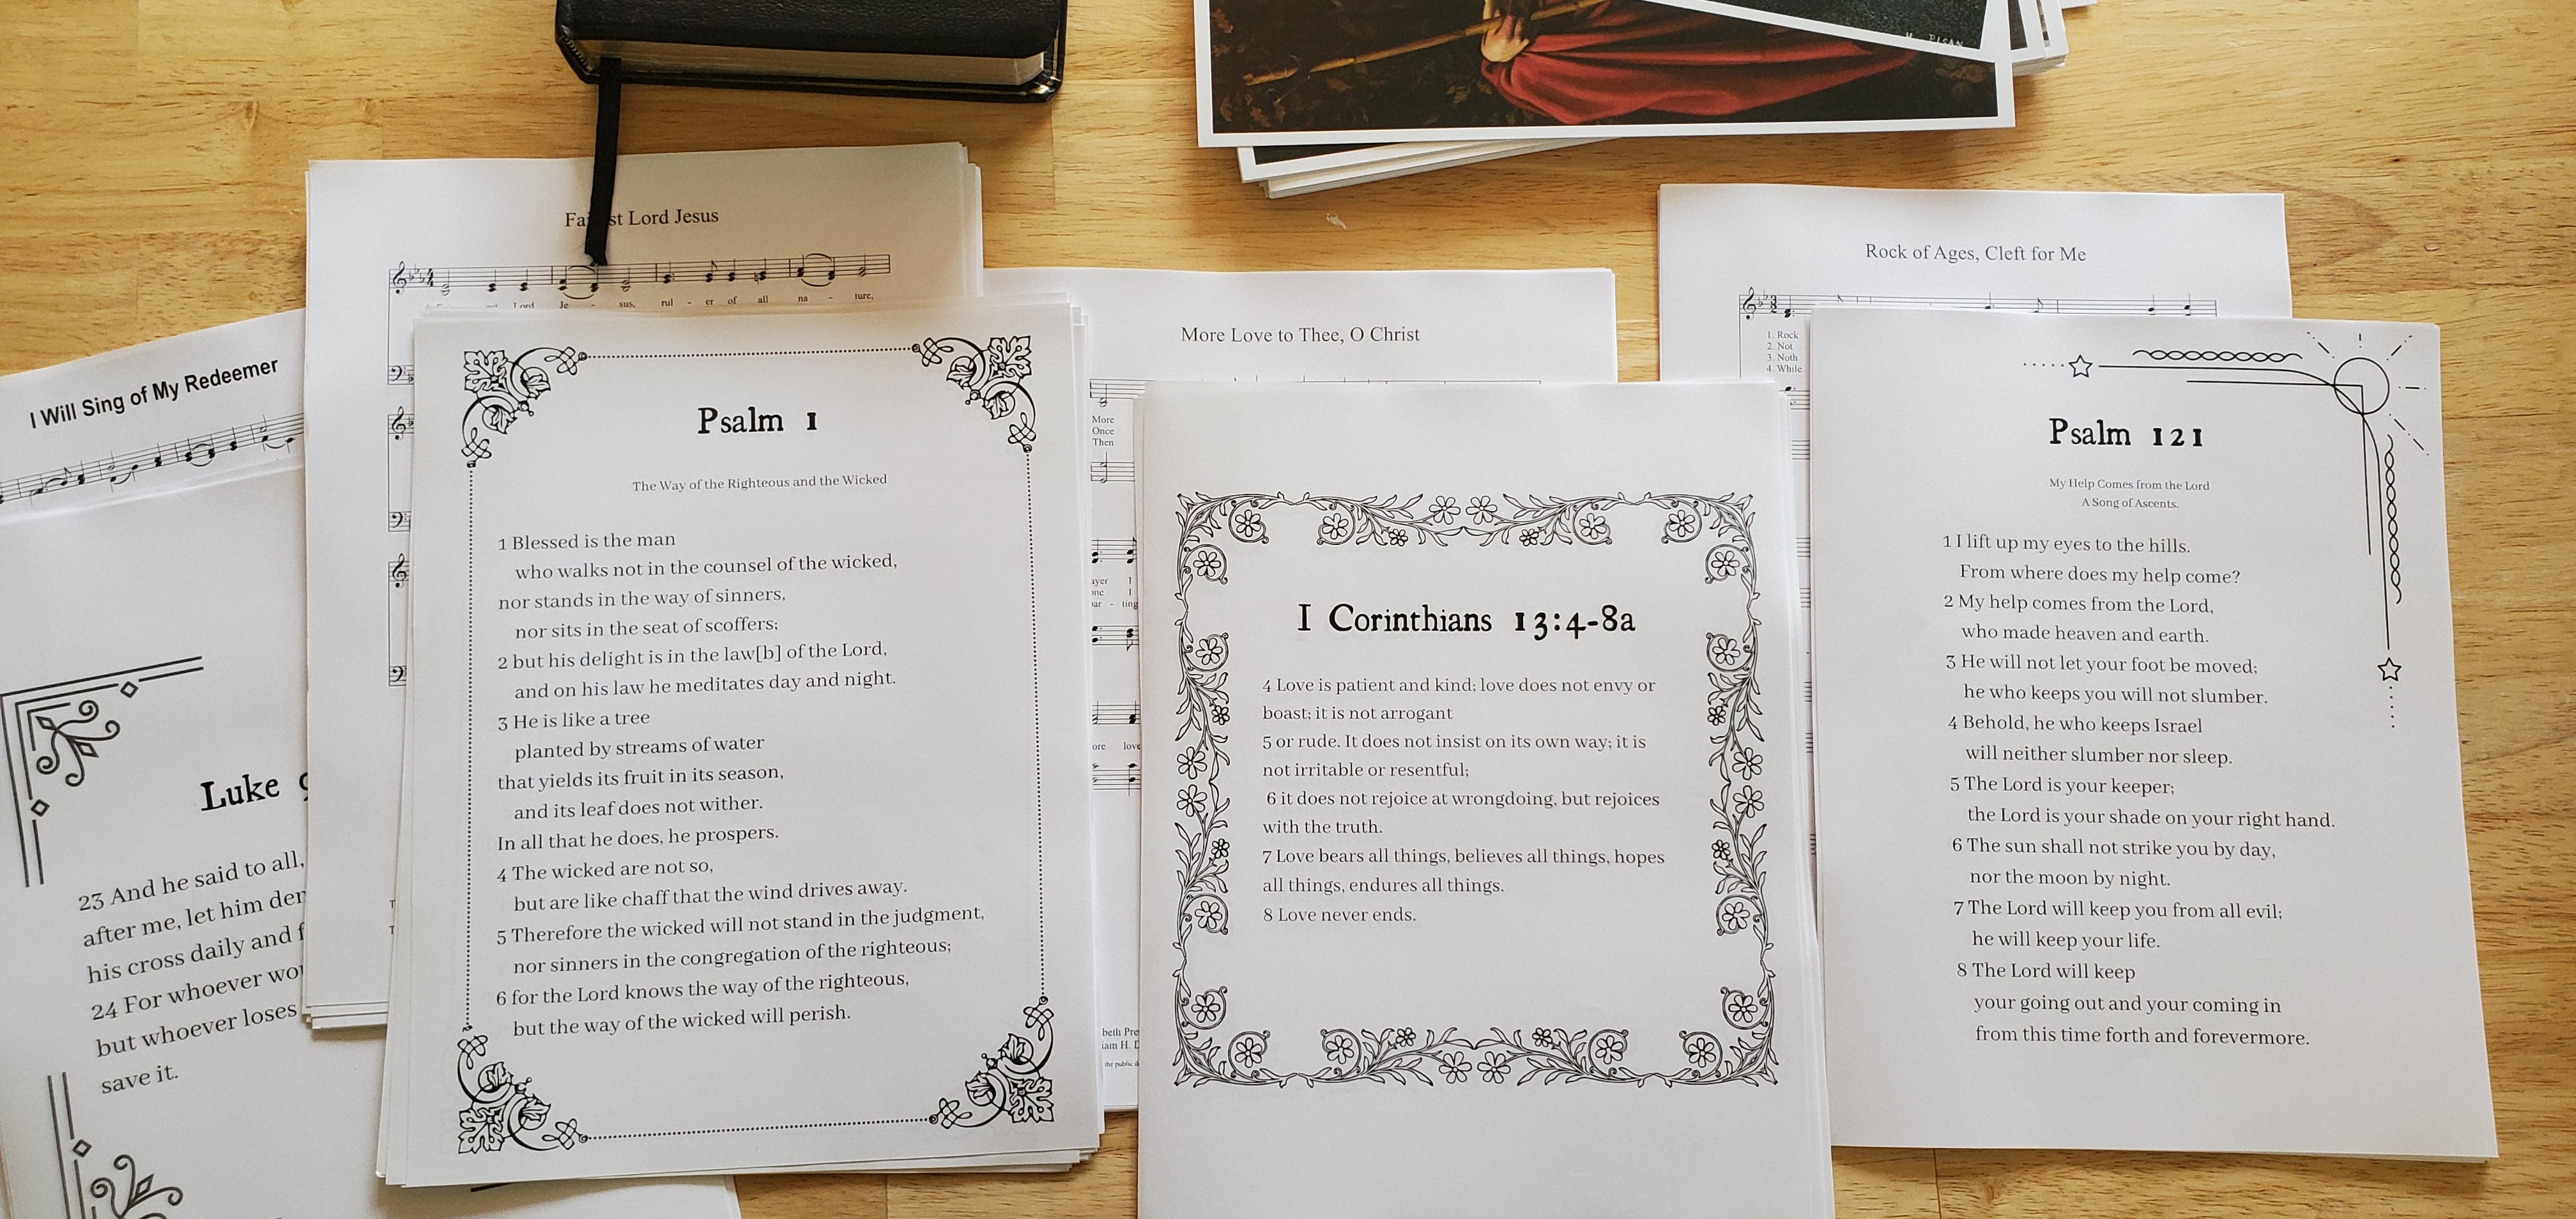
4) Select the hymns, scripture memory work, and books of the Bible you will cover for those weeks.
Keep a master list of what you’ve already done and what you plan to cover in the future. We learn a new hymn and scripture memory passage roughly every 6 weeks, but some may want to change this up every month.
We have learned hymns such as To God Be the Glory, More Love to Thee O Christ, and Fairest Lord Jesus. We sing first thing so that my husband can come down before teaching his class and lead us with his voice and guitar. (I made many valiant attempts to lead singing but I can’t sing on key to save my life. Now our group sings much more robustly with his help!)
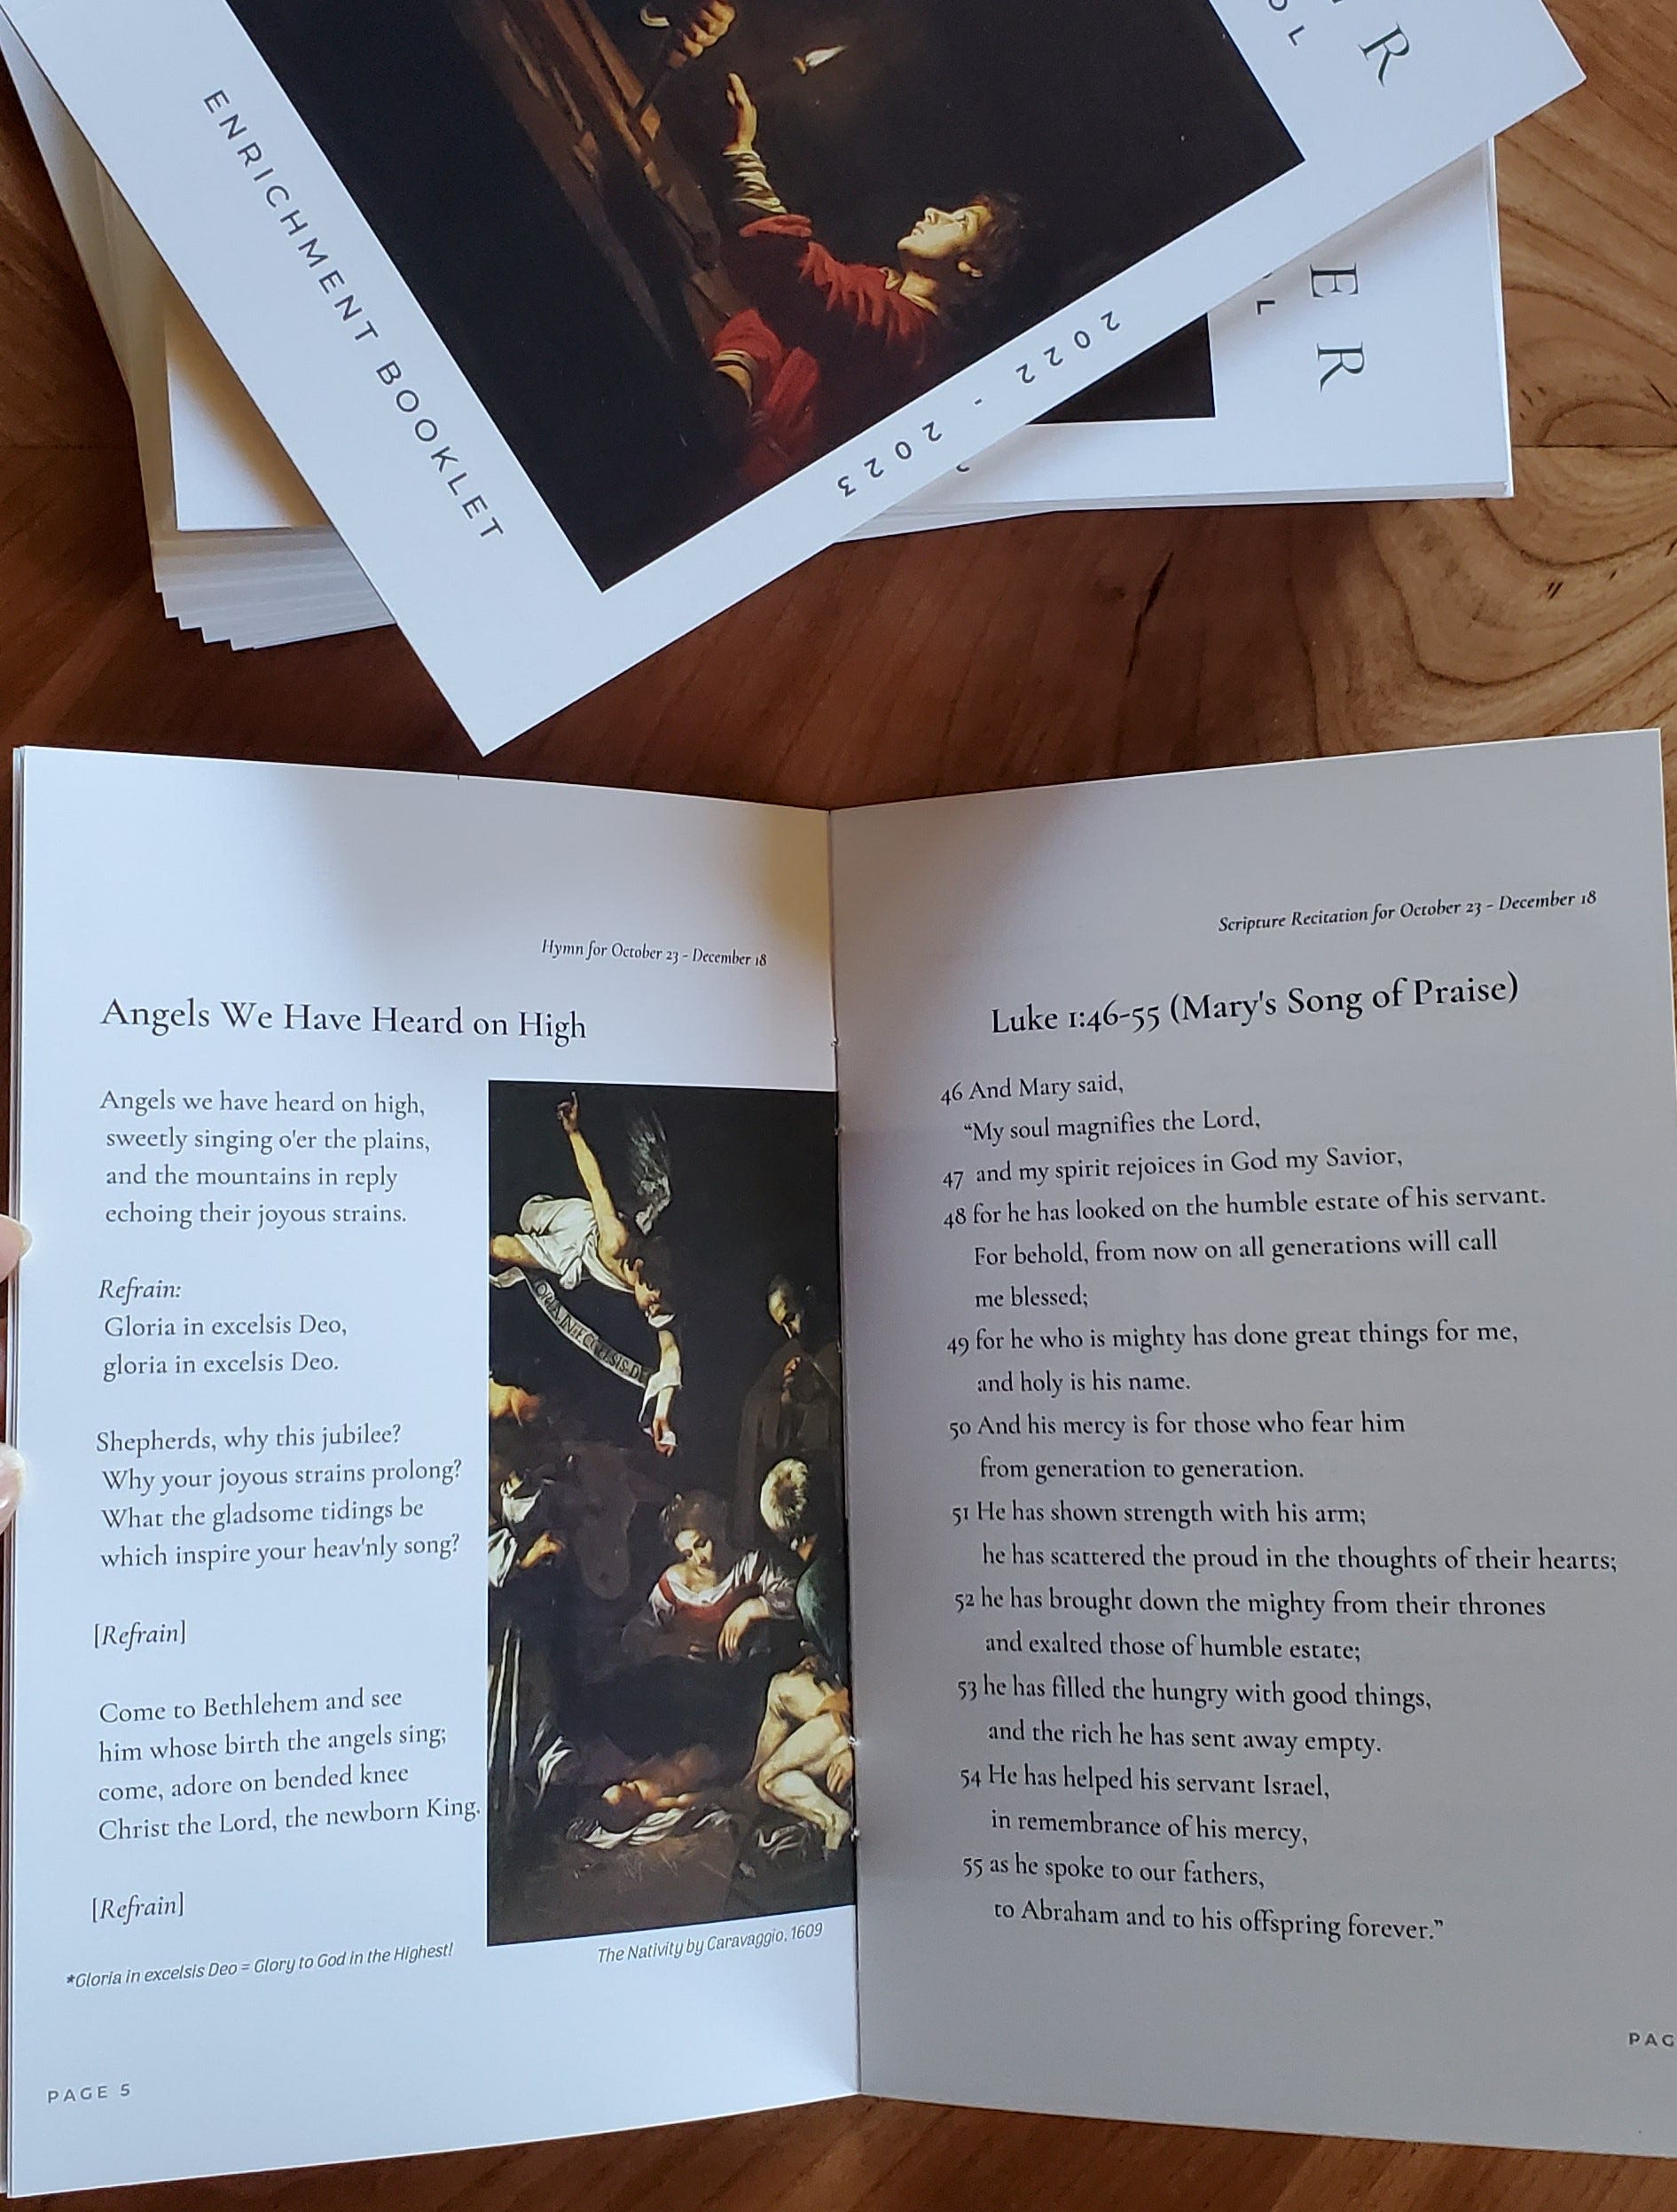
For Scripture memory we’ve learned Jesus’ parables, entire Psalms (shorter ones), the Lord’s Prayer, Mary’s Song of Praise from Luke 1, Aaron’s Blessing from Numbers 6, and the Way of Love from 1 Corinthians 13.
Keep a master list of how you plan to cover scripture readings. Our elementary aged students are going through a four year cycle where we cover a different gospel each year and work chronologically through the Old Testament.
Year 1: John, Genesis
Year 2: Luke, Exodus, Numbers, Deuteronomy
Year 3: Mark, Acts, Joshua, Judges, Ruth
Year 4: Matthew, 1 & 2 Samuel, 1 & 2 Kings
I would love to include more books of the Bible and I may re-examine this as I go, but we also have a group for older students that meet mid-week where they can cover more.
Our very first year I relied on Lifeway’s Gospel Project plan for choosing bible readings and this worked well until we got into the epistles. Actually, the kids did great, but telling back from 1 Thessalonians is more of a challenge.
3) Prayer. In addition to students’ prayer requests, our lesson plans include prayer prompts that our teachers can draw from to model biblical priorities.
There are some wonderful resources to help with this:
What Every Child Should Know About Prayer by Nancy Guthrie
Teach Us to Pray, by Lora A. Copley and Elizabeth Vender Haagen
Window on the World: An Operation World Prayer Resource, by Molly Wall and Jason Mandryk
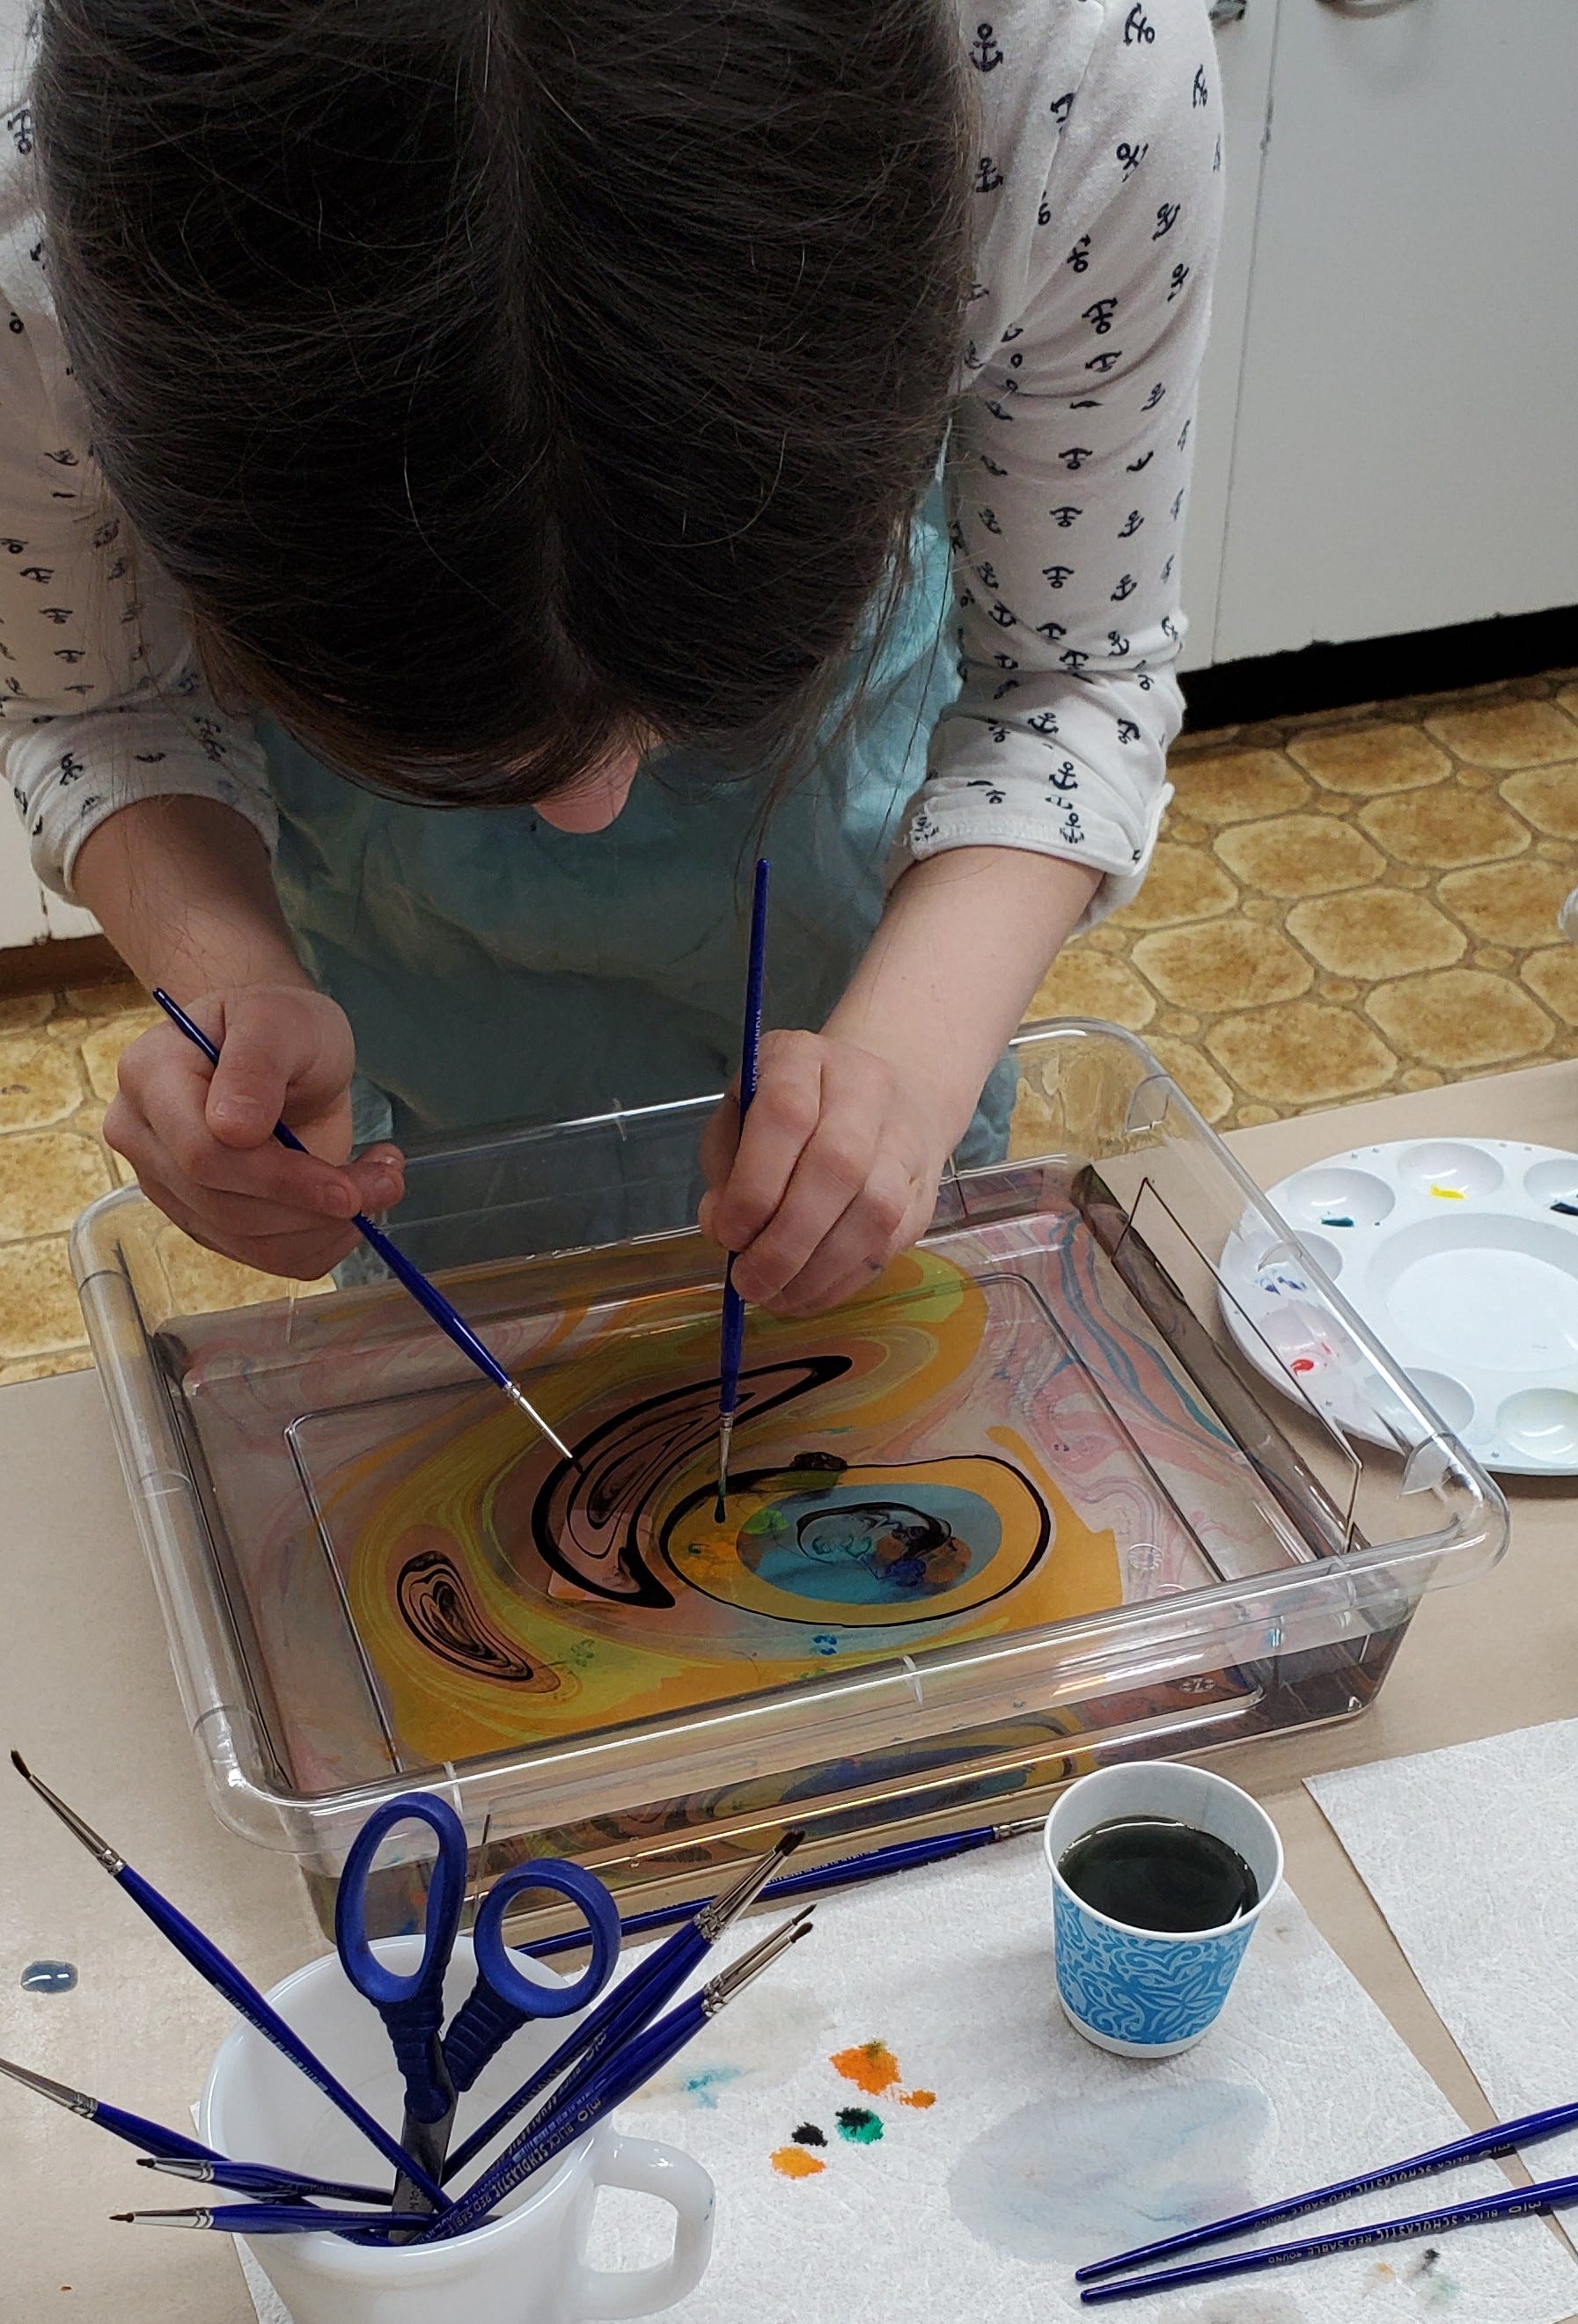
4) Choose service craft projects. These are intended to be given away to someone else of their choosing: an older church member, a grandparent, a neighbor, etc. One to two each term works well. You want to give enough time to build skills before creating a finished project. There are many sources online, such as Blick art supplies, with free lesson plans and video tutorials.
This is also a great time to get other church members involved. Invite someone in for a few weeks to teach a skill that they know. We had a veteran from the navy teach knot-tying.
More Examples:
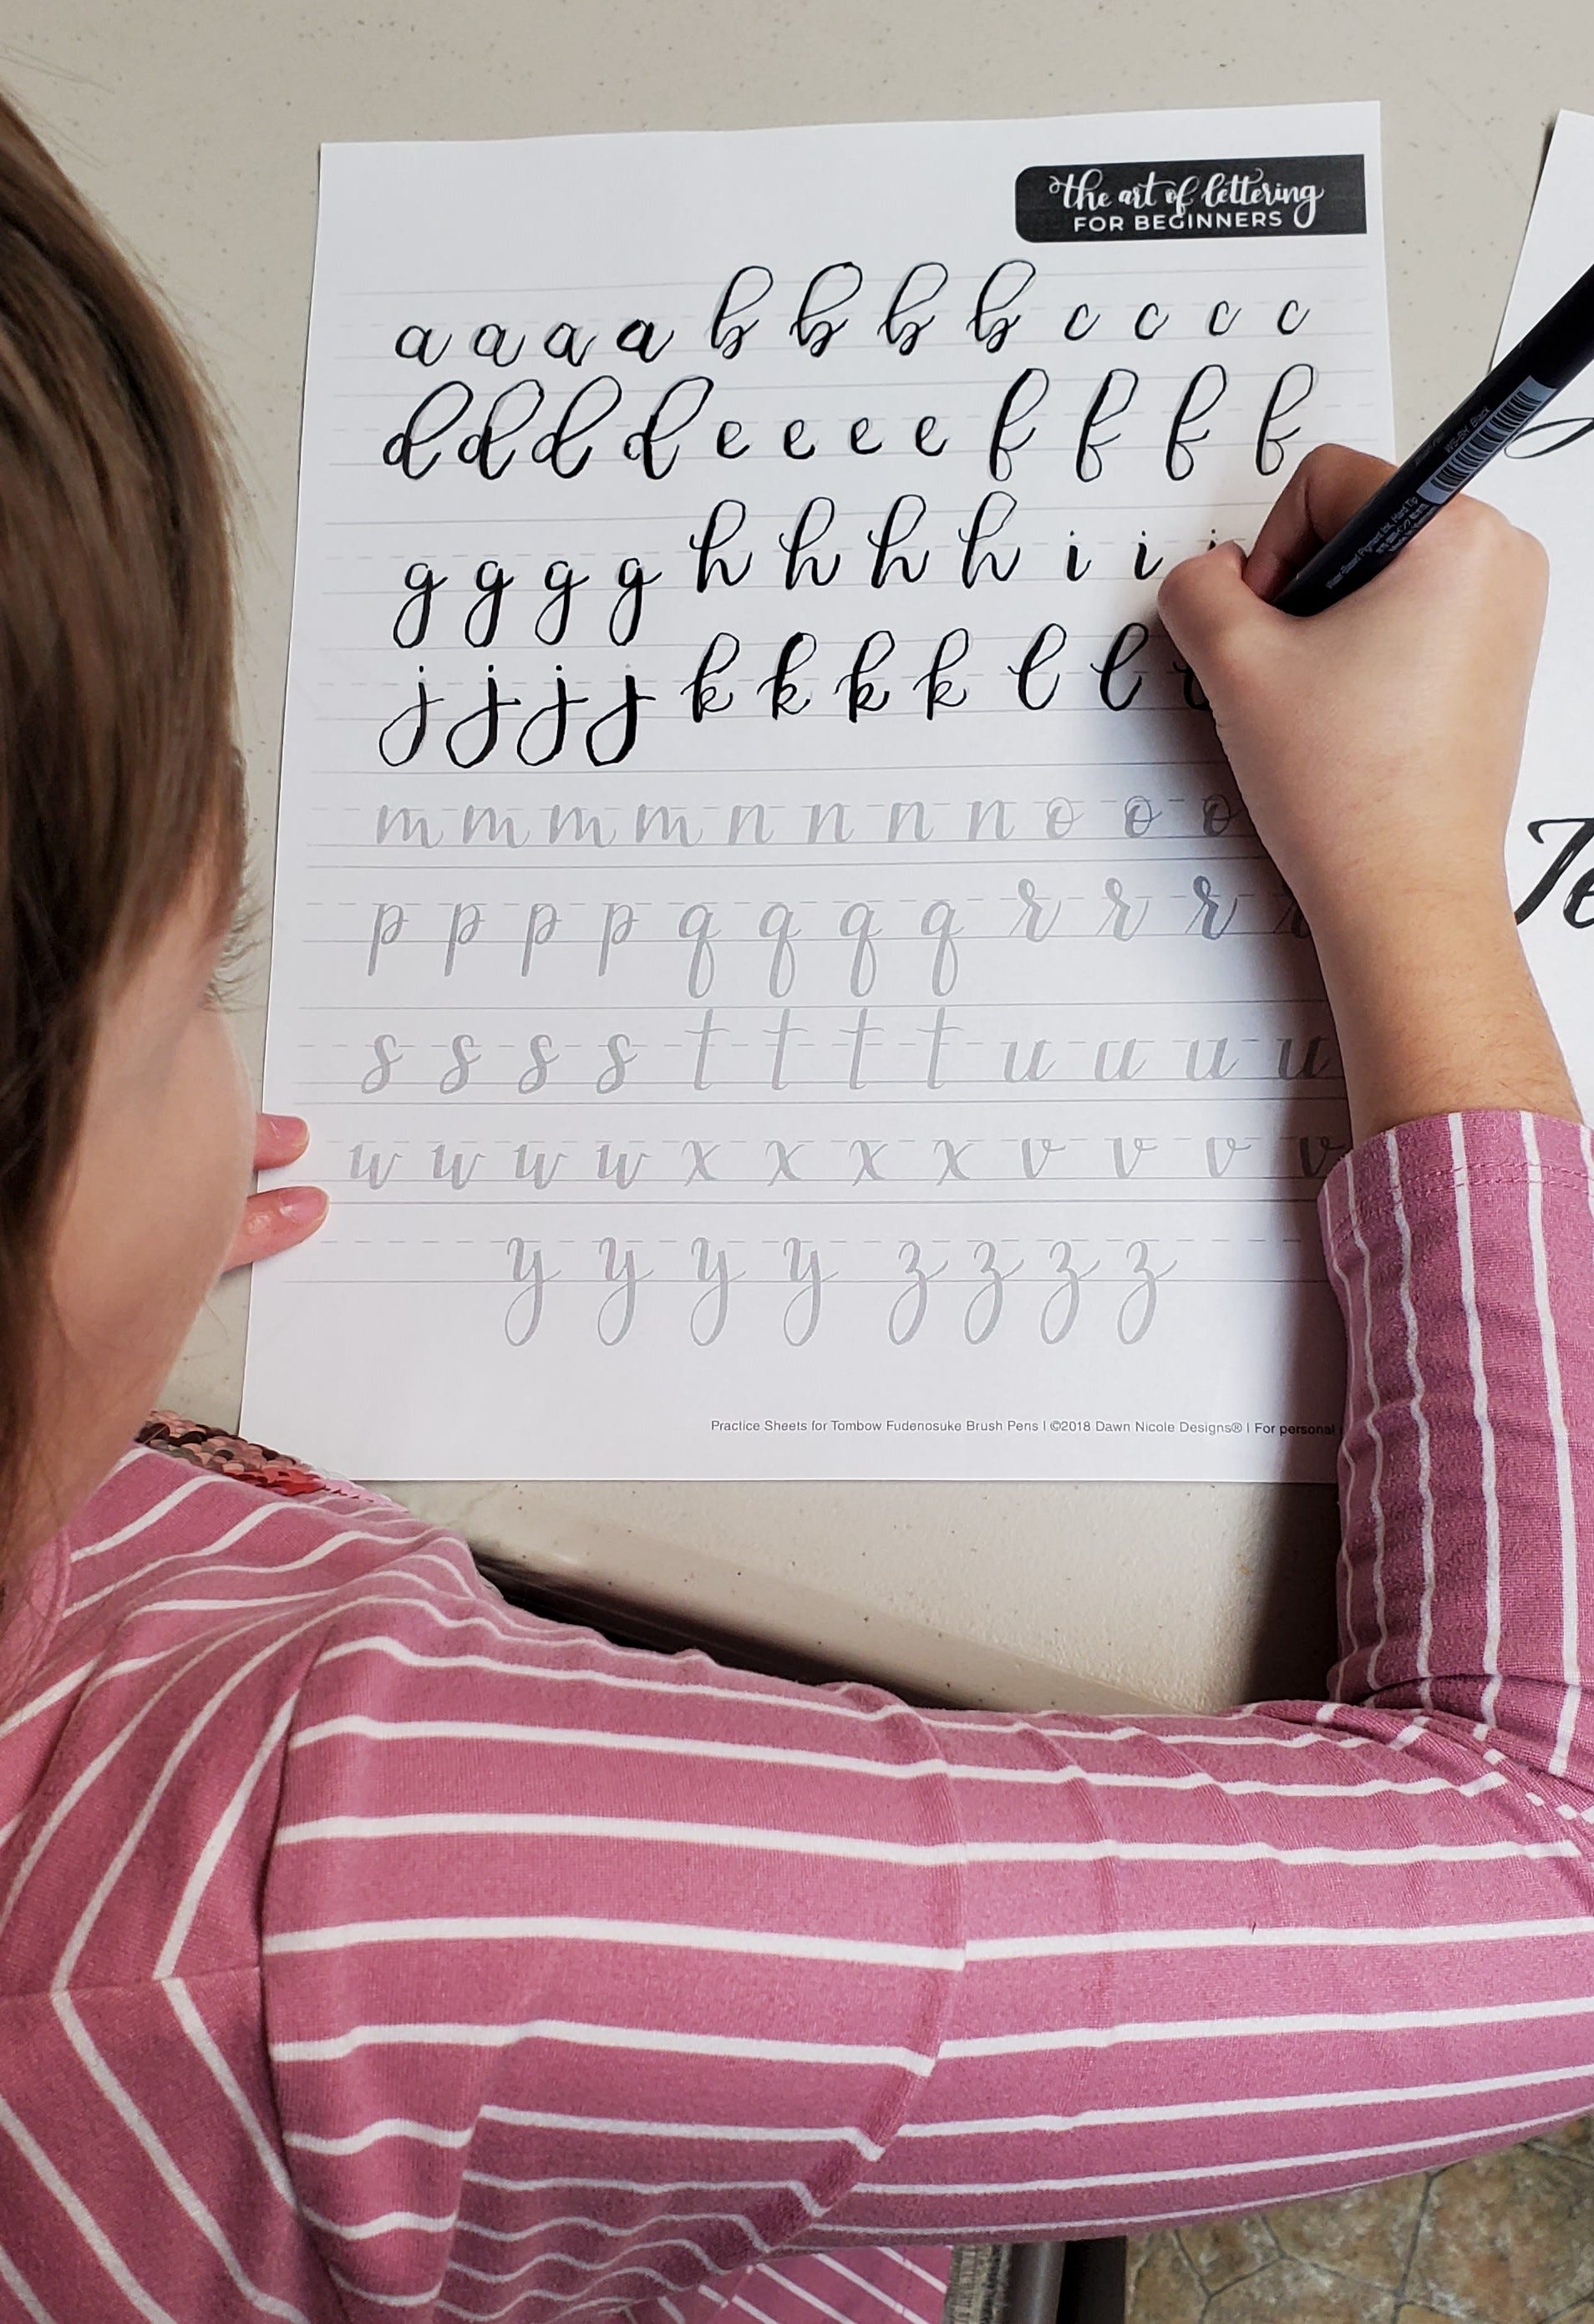
Scripture Art made with brush pen calligraphy
Soap Carving
Air Dry Clay: bowl, vase, trinket dish, Christmas tree ornaments
Paper Marbling
Watercolor painting techniques
Beaded Wind Chimes
Macrame Plant Hangers
Rolled Beeswax Candles
Painted Drop Cloth Rugs
Weaving
Bookmarks
We also have a card ministry. Names of people we know who need encouragement are written on the chalkboard. We keep a stack of folded paper and watercolor postcards. Students will write Bible verses down, even from their memory work, and decorate the cards. Some will also use their calligraphy and painting skills.
5) Choose a book to read the last ten minutes of class for further enrichment. I found that our kids connect much more with a longer chapter book that takes all year than from a collection of shorter stories.
These have been our favorites so far:
Dangerous Journey: The Story of Pilgrim’s Progress, by Oliver Hunkin
Gladys Aylward: The Little Woman, by Gladys Aylward and Christine Hunter
Lottie Moon: Giving Her All for China, by Janet and Geoff Benge

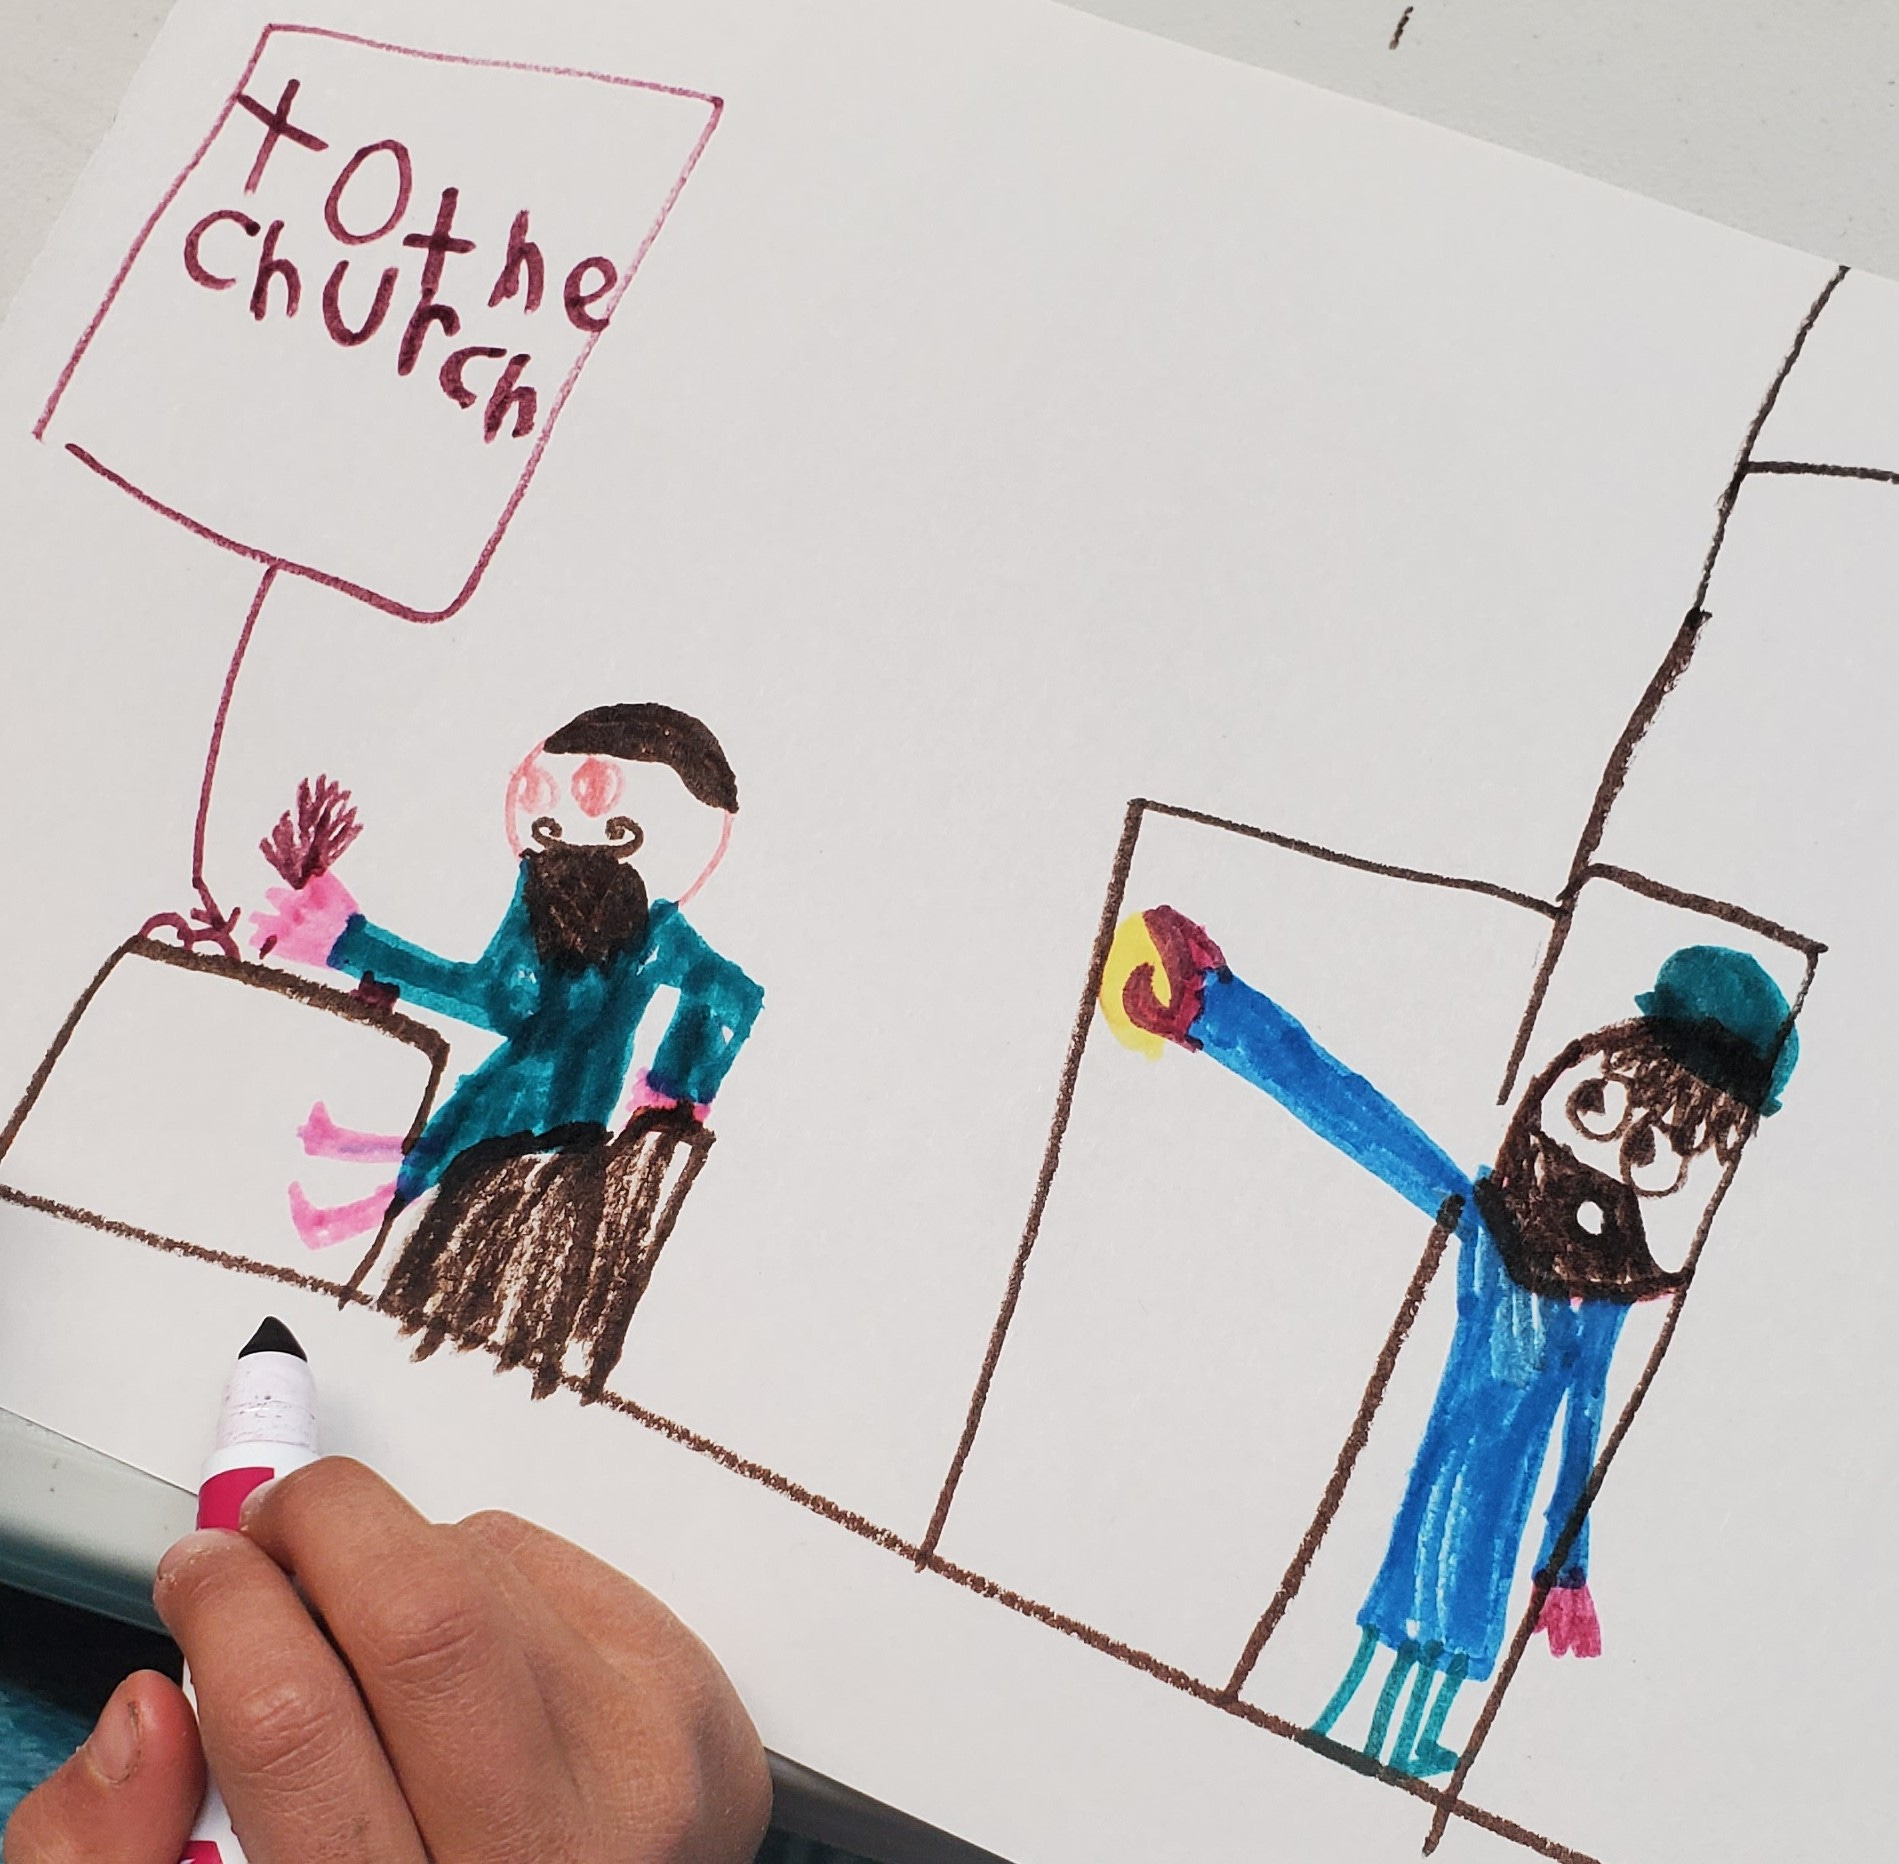
6) Additional Activities. This could include catechism, making maps, getting props for acting out scenes from the Bible, and 3x5 index cards for a time line.
We have a long stretch of twine strung up on the wall so that students can take turns making a time line card for each Bible reading and attach them with clothespins. The purpose for this is to show the chronology of events and it is also helpful since we switch back and forth between the Old and New Testament.
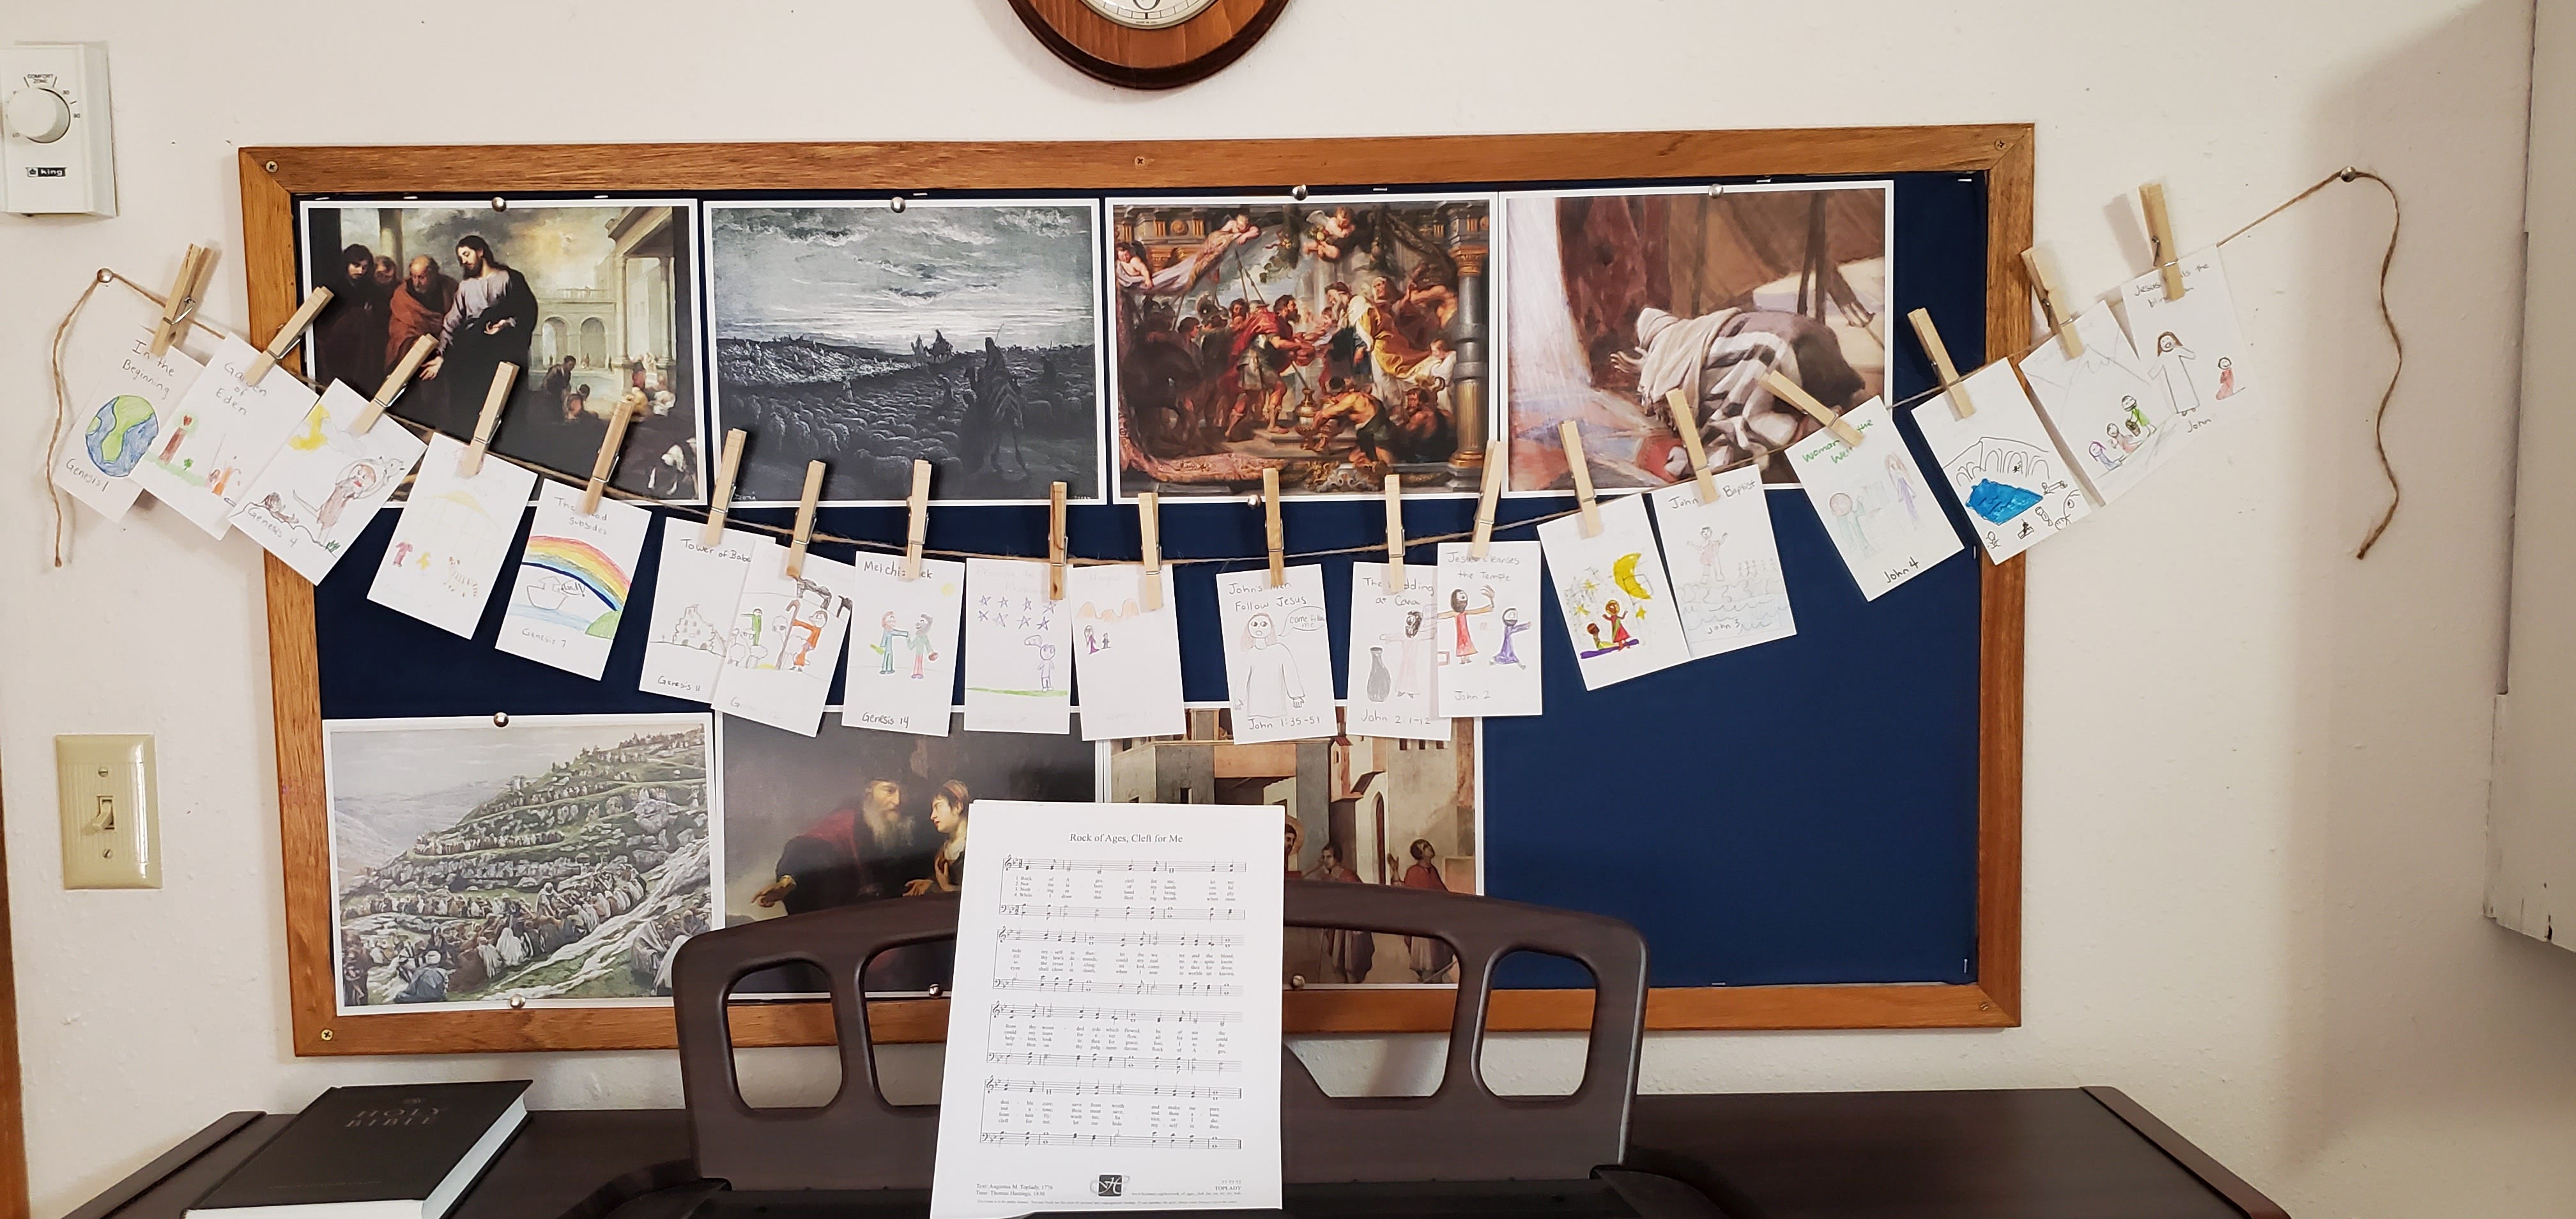
7) Choose the Bible reading passages. Pick passages that give a full event or story, this could be a handful of verses or a whole chapter. Judiciously leave out parts that young children are not old enough to bear. (We can come back to Judges 19 later.) I take the number of weeks we have class and divide it by two to know how many passages I can pick from the OT and NT. We alternate, so week 1 is from John, week 2 is from Genesis, week 3 is back to John. I do the best I can to pick out key highlights from each book.
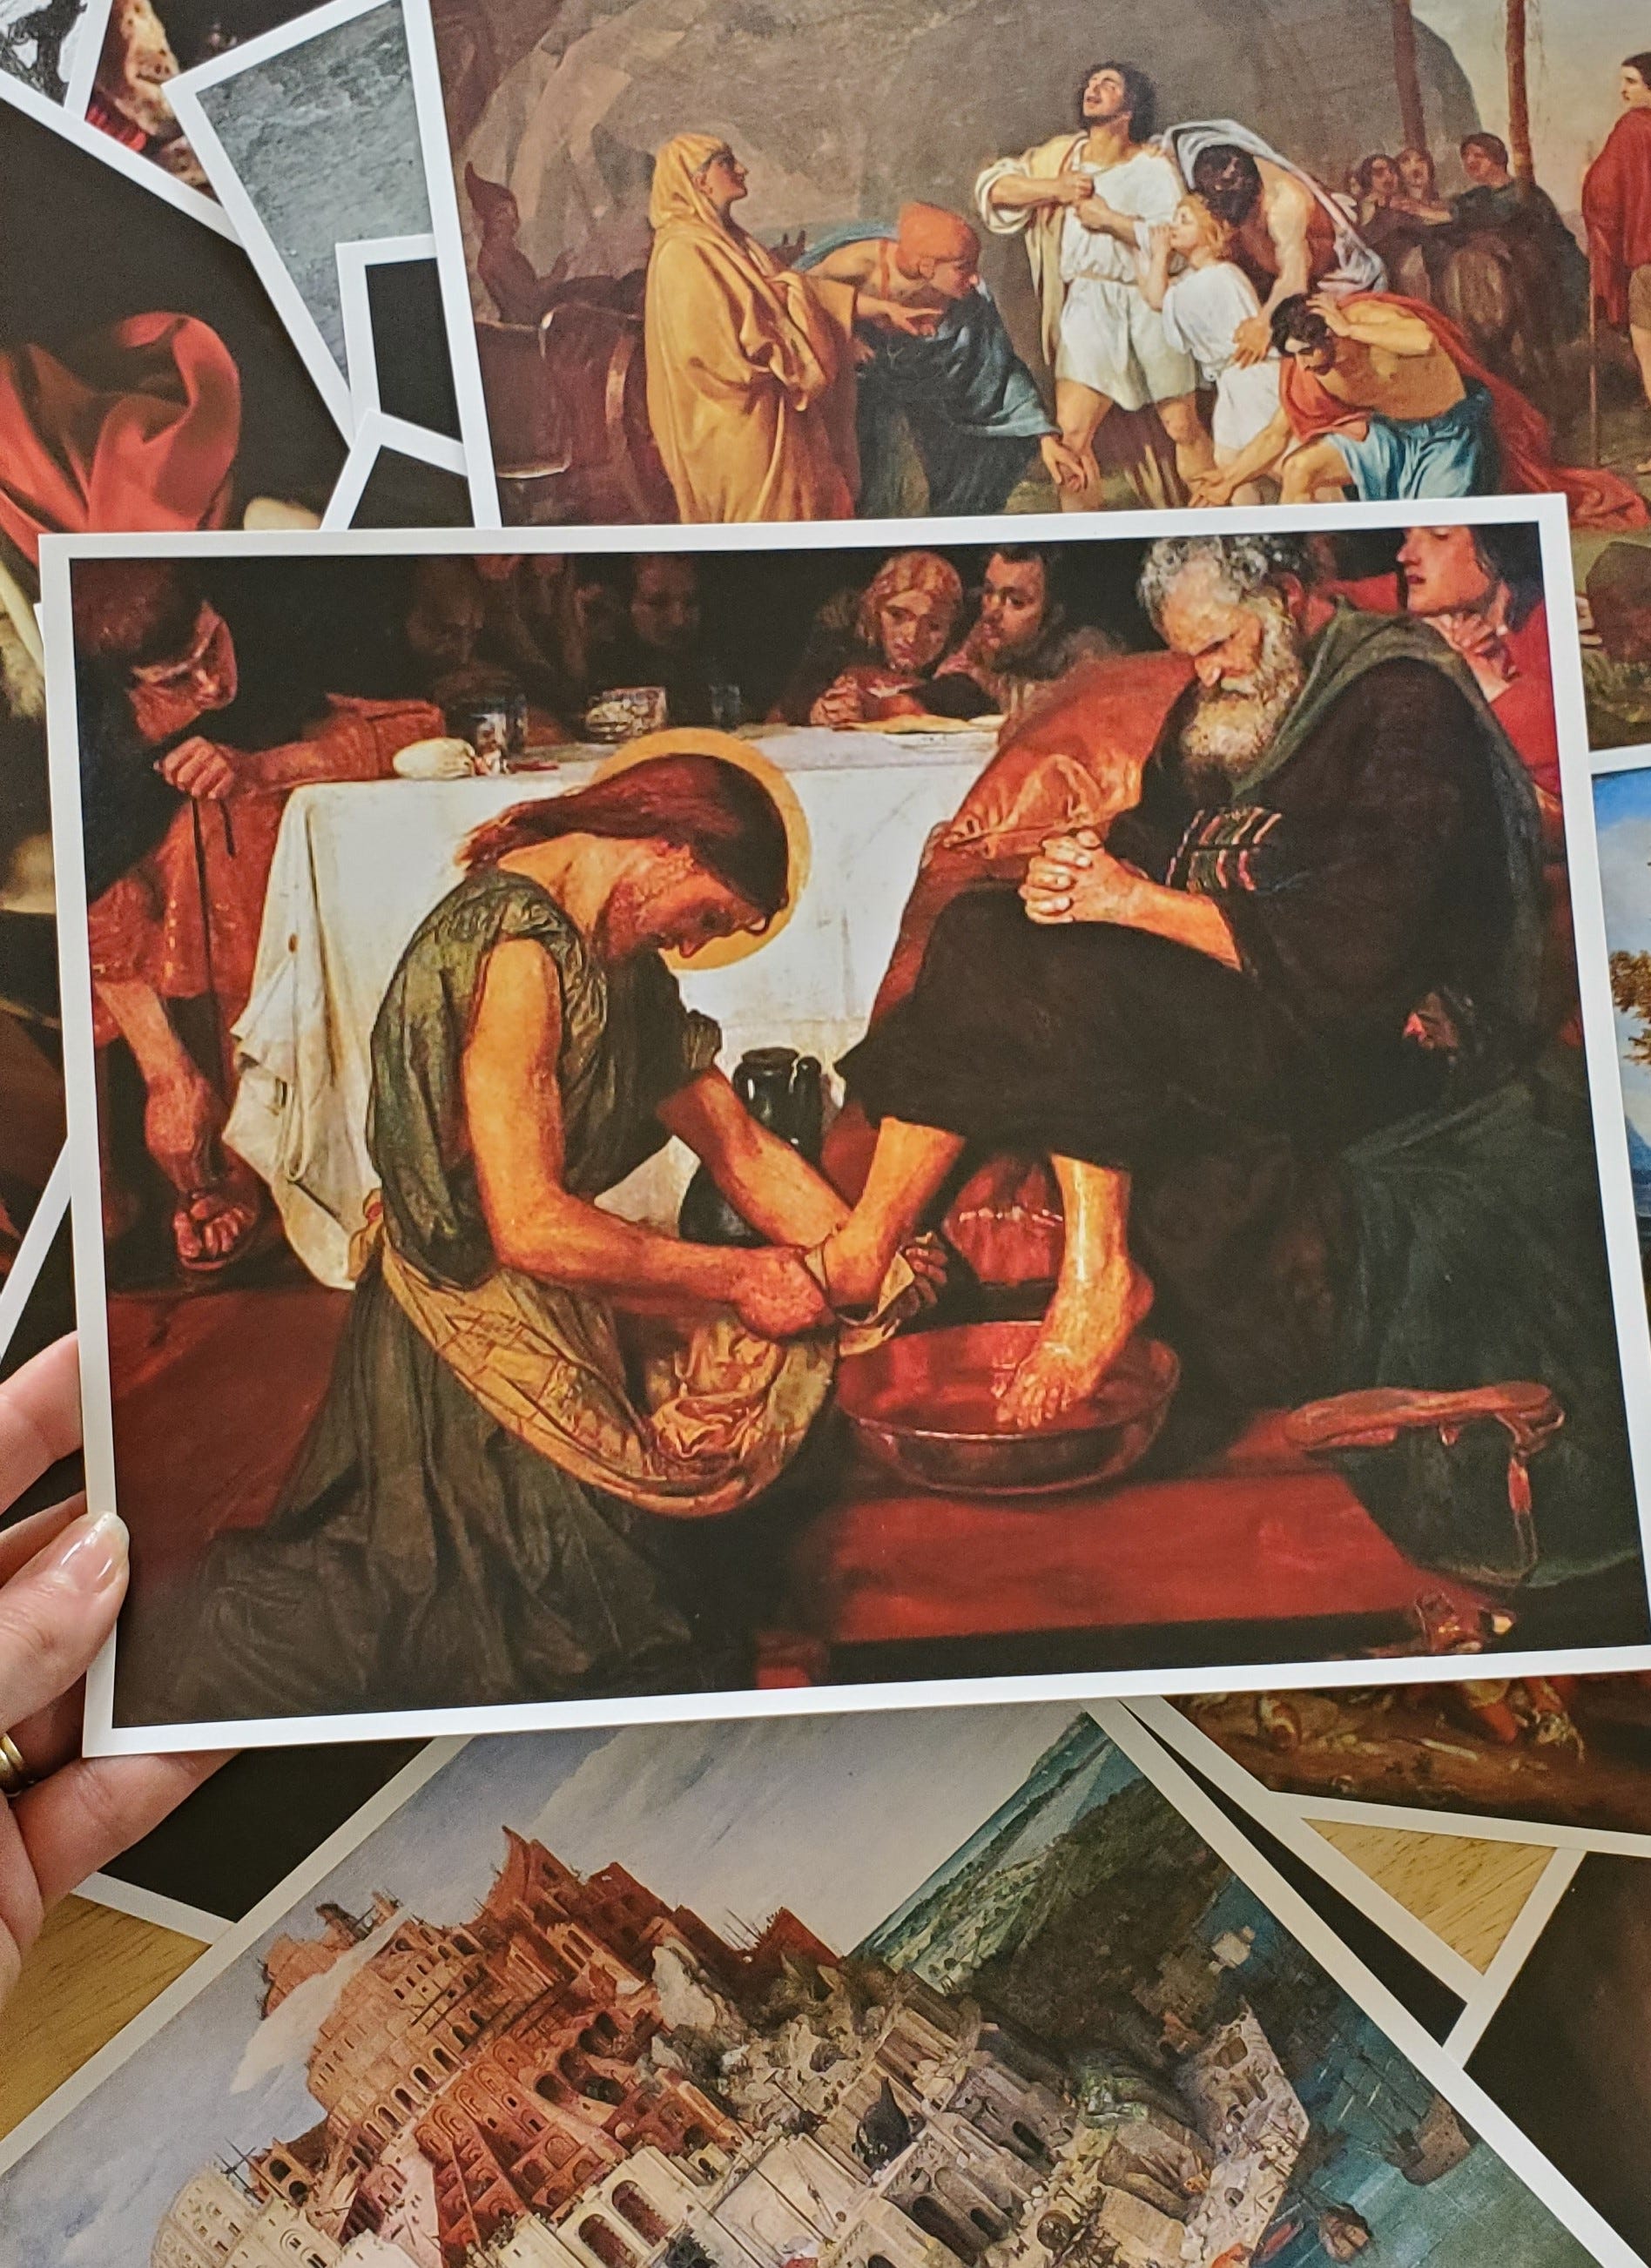
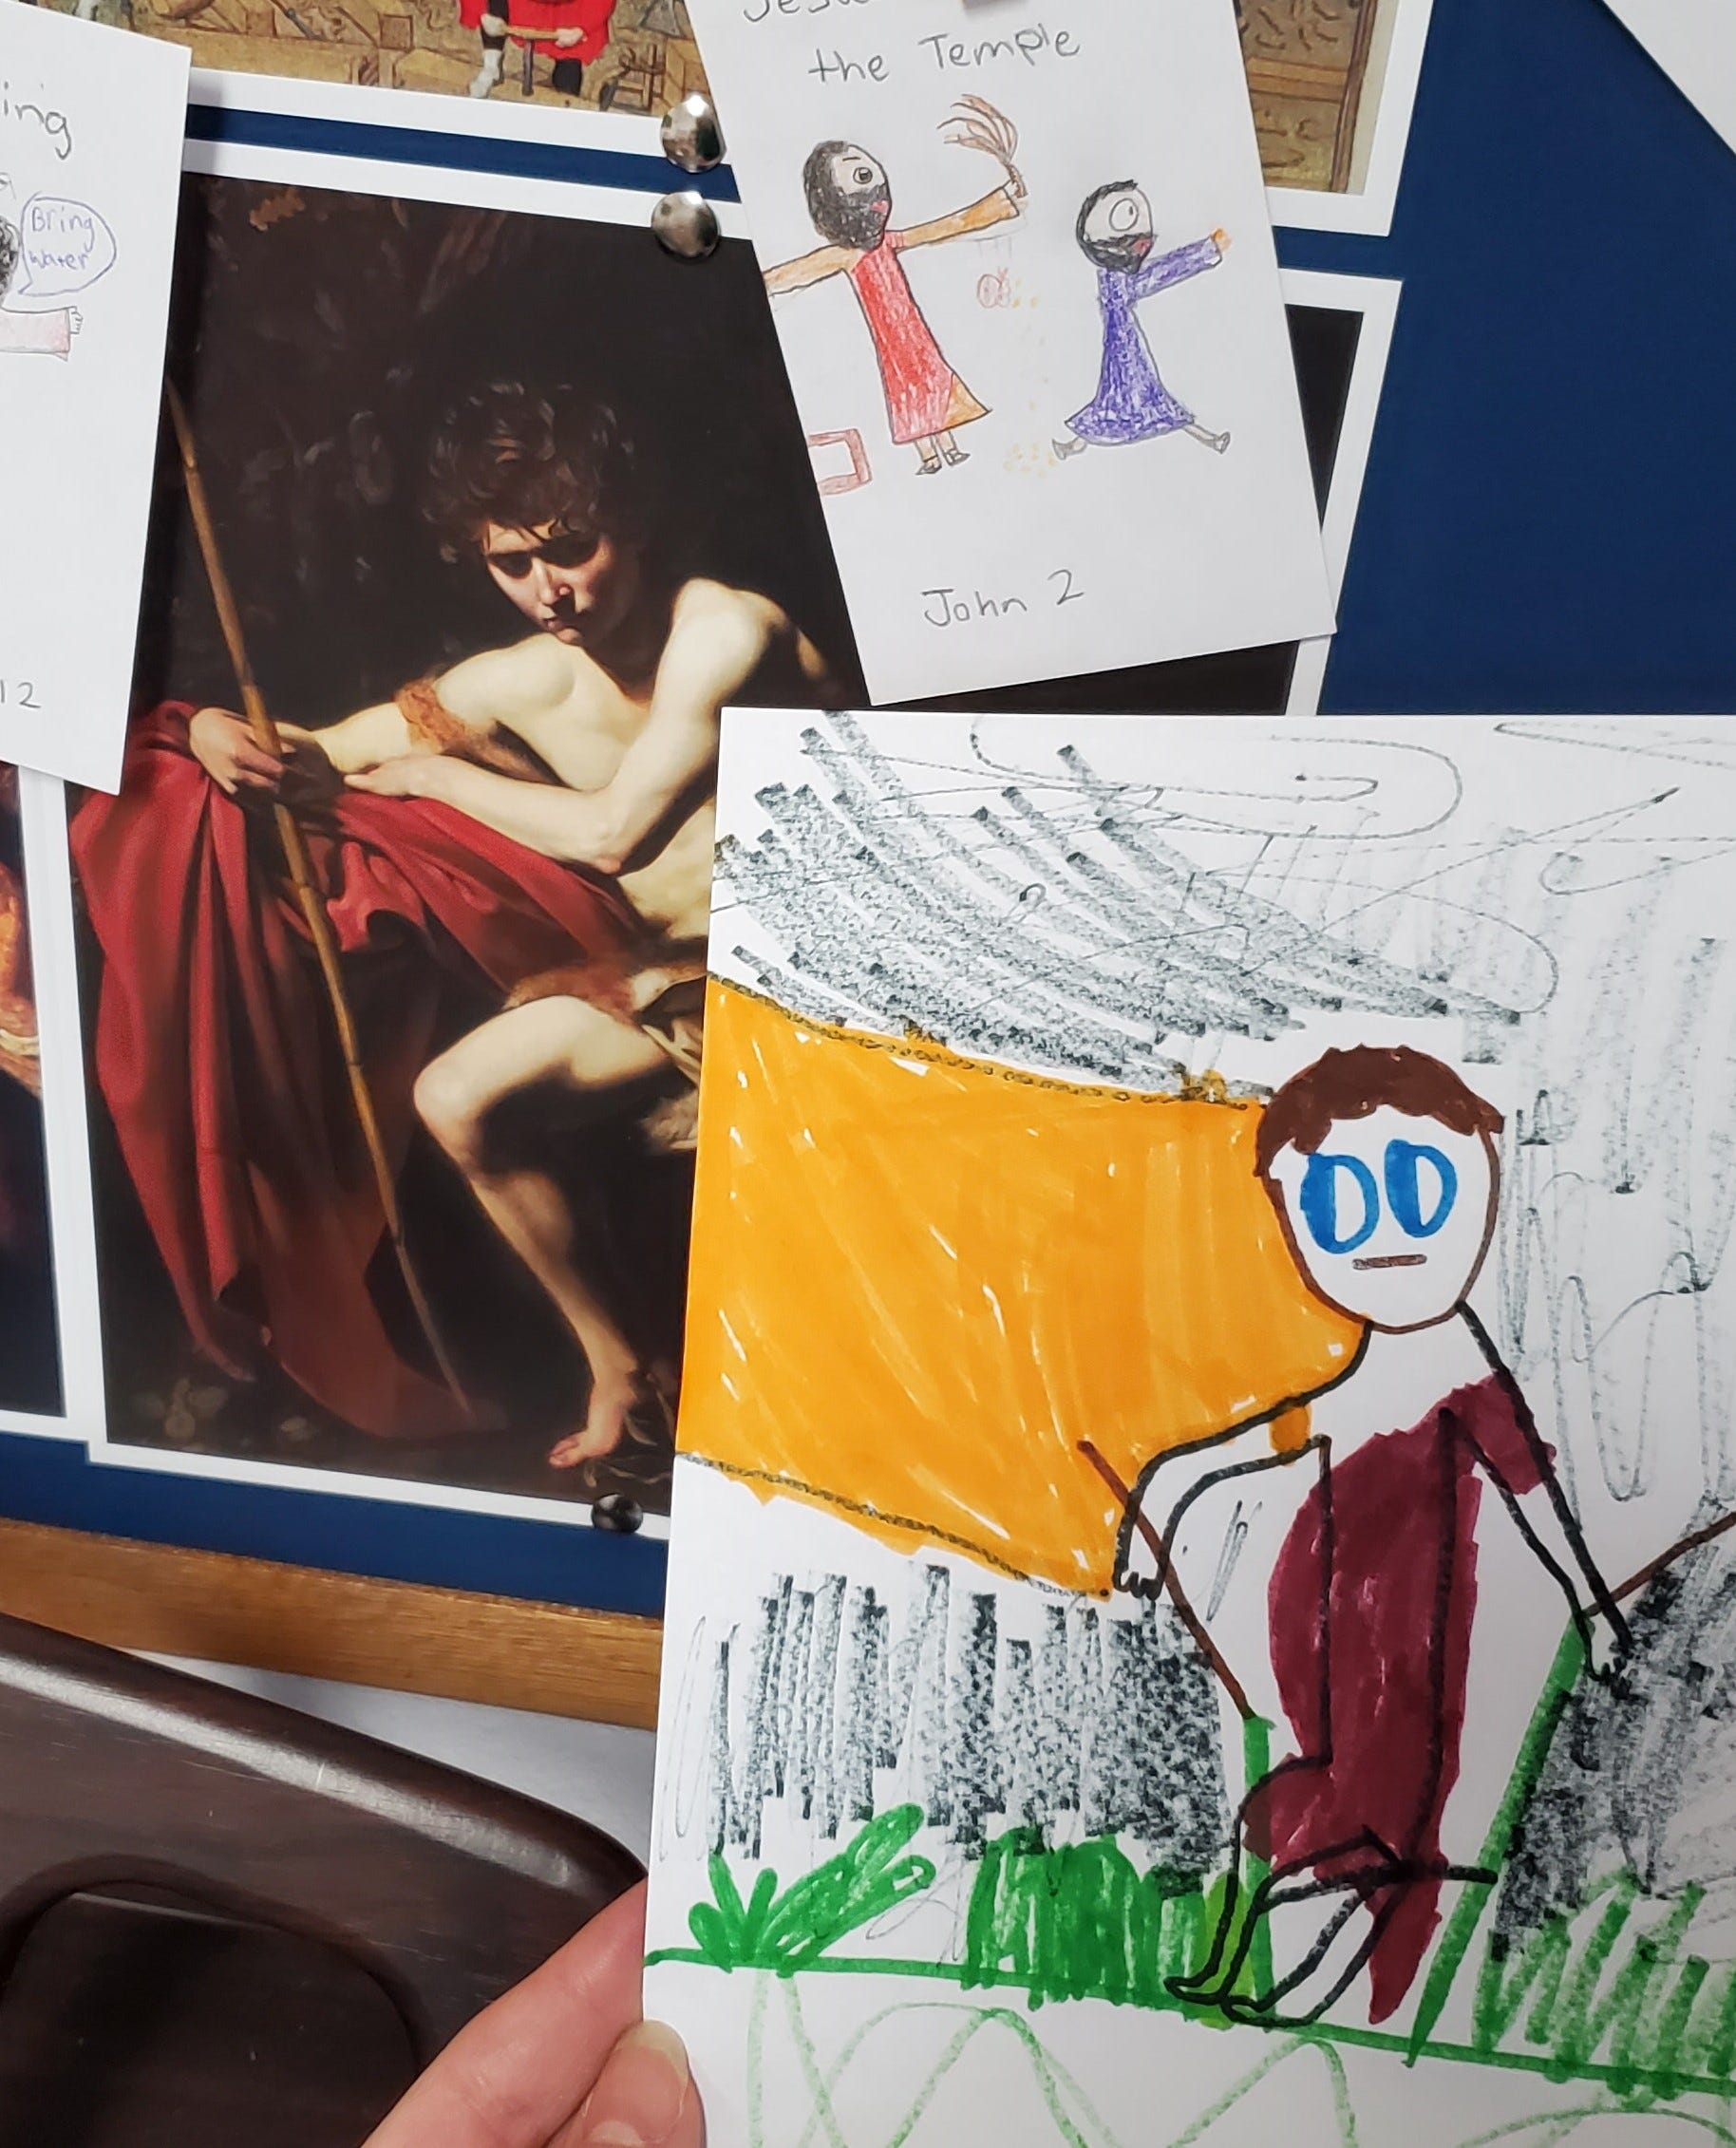
8) Find art prints. For each Bible passage, look up art such as paintings, sculpture, and engravings. I mostly rely on WikiArt.org and ArtBible.info, but there are books full of biblical art to peruse as well. Sometimes I just can’t find a depiction of a certain event and I’ll skip the art study for that lesson, but I really try to avoid doing that as our students love this part so much.
Save all the images at a high resolution in a file on the computer. Then highlight all those files, right click and “print to pdf.” Now you have all the prints in one document that you can send to a print shop.
For prints, order them on cardstock and in matte. Note that if it is glossy or laminated there will be a glare when the students are studying it. I write the name of the painting, the artist, date, and anything of note on the back sides.
9) Print out the hymns and scripture memory passages. At first, we put these in page protectors and kept them at the students’ seats. I would send additional print-outs home with them. This worked just fine, however it was a real chore to change them out every six weeks and they were prone to getting irredeemably rumpled by the end.
The other option is to create a booklet for the year. I use a magazine template from Canva.com and add in art images to correspond with the hymns and verses. I also include notes for parents on how to use it at home. This took a lot of time to set up initially, but now that I have the template made it’s easier to just plug in everything for the next year. I have these printed on the highest weight cardstock and made into booklets by the print shop, but to save on costs they could easily be printed from a home computer.

10) Lesson Plans. The final step is to write out lesson plans for the teacher. We have an at-a-glance overview grid for the whole year and then individual one page sheets that outline each week’s class.
An optional step here is to include brief words that the teacher can give to set up the Bible passage that will be read. (Ask if they remember what happened last time, define a strange word that is coming up, etc.) As well as a few discussion points to bring up after the children have done their work of telling back. This is where the teacher can help make wider gospel connections. The ESV Gospel Transformation Study Bible is often helpful for this.
Below is a pdf of my very simple lesson plan template:
Another resource is Jack Klumpenhower’s book Give Them Jesus. Our teachers all read this book as well and really loved it. He explains in detail how to make those important gospel connections.


Thank you for following along.
Next up, I’ll tell you how to create a church website from scratch — just kidding!
This is wonderful! Thank you so much for sharing. I will imitate your pattern when I’m called on to teach Sunday School next. I do like to get the children moving while singing; it helps them remember the words -do you use actions? Cannot recall if you mentioned that in pt 1 or 2.